Rock Garden Landscaping Ideas: 19 Beautiful Ways to Transform Your Outdoor Space
Last Updated on September 28, 2026 by Duncan
A well-designed rock garden is bound to turn an awkward slope, a bare corner or a patch of dry soil into one of the most attractive parts of your yard.
The secret is knowing how to combine rocks, plants and different textures so the garden looks natural rather than like a pile of stones dumped in the backyard.
How do you do it? Here are 19 rock garden landscaping ideas you should use to your advantage:
Use boulders to frame the front entrance

Matching boulders flanking your front walkway do more for curb appeal than an entire flower bed.
Pick stones close in size and character and set them so the walkway narrows slightly between them.
That narrowing is the trick. It makes the entrance feel like a threshold instead of just a path that happens to have rocks nearby.
Keep the boulders low enough that they don’t block sightlines to your door from the street.
A boulder taller than your porch railing looks like a barricade, not as a welcome sign.
Landscape around a garden path with rocks

A path edged with loose, randomly placed stone looks like someone was clearing debris. A path edged with rocks set at a consistent height and rhythm looks designed.
Run your eye along the edge before you commit to placement.
If the stones bounce up and down in height with no pattern, your yard will look chaotic even if each individual rock is pretty.
Use slightly larger stones at path junctions or turns to mark the transition.
It’s a small cue, but it tells a visitor’s feet where to go without you needing a sign.
Add succulents between rocks

Succulents and rock crevices are made for each other because both hate sitting in wet soil.
Tuck sedum, echeveria or any other of your favorite succelents into the thinnest gaps where water drains fast and roots stay dry.
The texture payoff is real here.
You get the smooth, almost sculptural rosettes of the succulent right up against the rough face of the stone, and that contrast is what makes your rock garden interesting to look at.
Give succulents a gritty planting mix, not regular garden soil, or they’ll rot within a season.
Create a circular rock garden around a small tree

A ring of stone around the base of a young tree does two jobs.
It keeps mower and trimmer damage away from the trunk, and it gives you a defined bed instead of a random patch of mulch.
Keep the inner ring at least two feet from the trunk and never mound soil or rock up against the bark.
That mounding, sometimes called a mulch volcano when done with wood chips, traps moisture against the trunk and invites rot.
Vary the ring’s width instead of making it a perfect circle.
An organic, slightly irregular ring around a tree looks like it belongs there.
Combine large rocks with colorful ground cover

A big, plain boulder needs a partner that can hold color against all that gray or tan mass.
Creeping phlox, ice plant, or dwarf periwinkle spilling over the base of a large rock does exactly that.
Plant the ground cover uphill or beside the rock, never directly on top where it’ll get scorched by reflected heat in summer.
Stone holds and radiates heat longer than soil does, and tender ground cover planted right against a south facing boulder will crisp by August.
Let the ground cover creep partway up the rock’s lower edge over a season or two.
That soft overlap between plant and stone is what separates a designed garden from a pile of rocks with plants nearby.
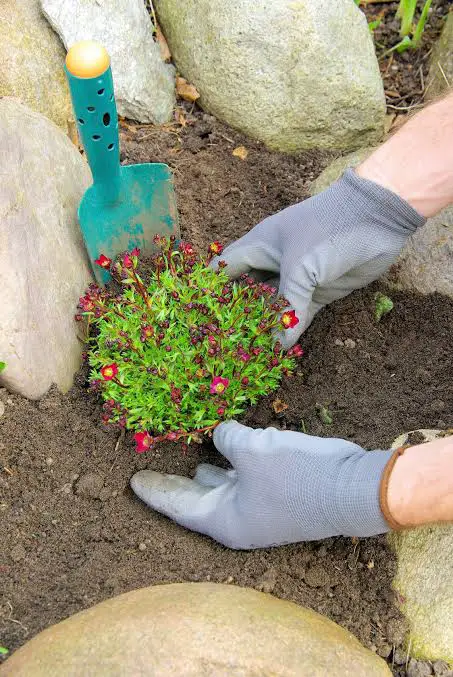
Combine rocks with flowering alpine plants

Flowering alpines like aubrieta, moss campion, and rock cress evolved to grow in mountain scree, which means your rock garden is like their natural habitat.
These plants want lean, fast draining soil and full sun, exactly what a well built rock bed provides.
Cluster a few different alpine varieties with staggered bloom times so you get color from early spring through midsummer instead of one big flush that fades.
A single week of blooms and then nothing for months is a rookie mistake.
Trim spent blooms back hard once flowering finishes.
Alpines get leggy and open up bare centers if you let them coast, and a bare center in a rock garden is not beautiful to look at.
Create a rock garden with natural stone steps

Flat, thick fieldstone slabs set into a slope double as both steps and design feature.
Choose stones with at least four inches of thickness so they don’t crack or shift under regular foot traffic.
Set each step with a slight forward tilt, maybe a quarter inch, so water sheds off the front instead of pooling and icing over in winter.
That tiny detail makes the difference between steps that last decades and steps that heave and crack after one freeze thaw cycle.
Plant low growers like creeping thyme or Irish moss in the gaps beside each step, never directly in the walking path.
A step that smells like thyme every time you brush past it is one of those small garden pleasures nobody mentions until they’ve lived with it.
Landscape with ornamental grasses

Grasses bring motion to a rock garden, and motion is something stone can never provide on its own.
Blue fescue, feather reed grass, or dwarf pampas grass planted in loose drifts among boulders gives the whole bed a sense of life even on a still day.
Leave the grasses standing through winter instead of cutting them back in fall.
Frost on ornamental grass against bare stone is one of the most photographed looks in a rock garden’s entire yearly cycle, and cutting it down early throws that away.
Give grasses room to reach full size before you crowd them with rock.
A fescue clump that looks sparse in its first year will triple in width by year three, and rocks placed too close will choke it out.
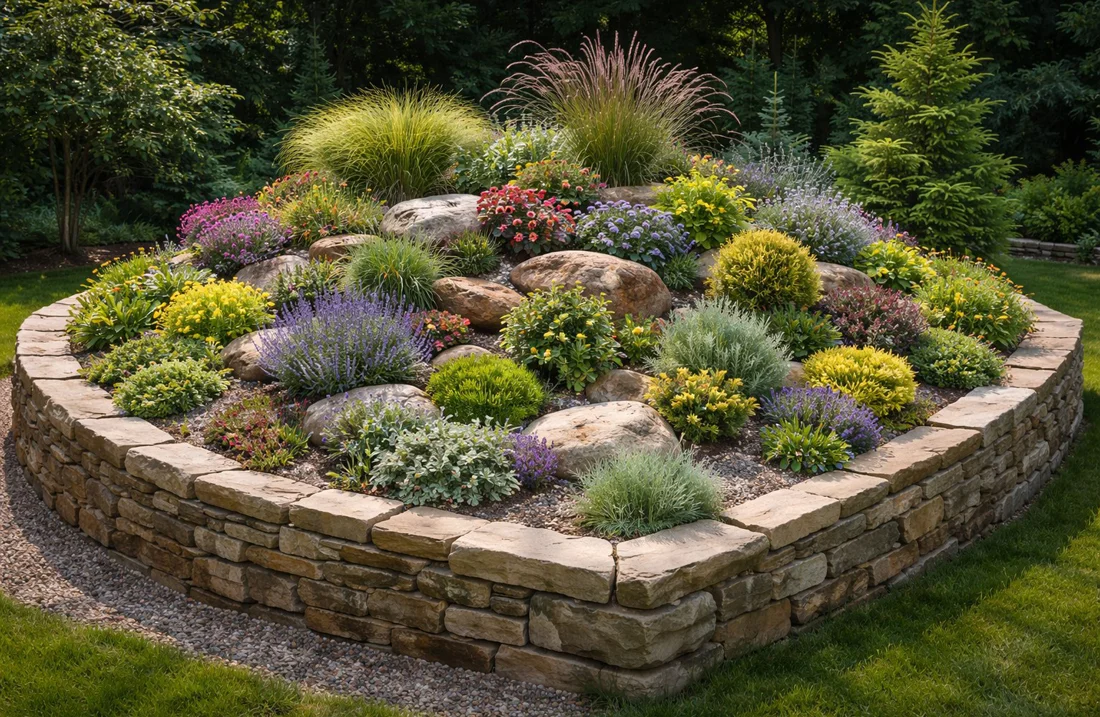
Build a raised rock garden for better drainage

If your yard has heavy clay soil, fighting it is a losing game.
Building your rock garden up on a raised mound, even just twelve to eighteen inches above grade, solves the drainage problem before it starts.
Use larger rocks to form a retaining edge around the base of the mound, then fill the interior with a fast draining mix of gravel, sand, and compost.
This setup lets you grow true alpine and scree plants that would otherwise rot in a season in clay soil at ground level.
A raised bed also puts your rock garden closer to eye level when you’re trying to appreciate small alpine flowers.
Nobody wants to kneel in the dirt to enjoy a two inch bloom.
Mould a dry garden with rocks and drought-tolerant plants

A dry garden built around rock is one of the lowest maintenance beds you can put in, once it’s established.
Lavender, yarrow, Russian sage, and ornamental oregano paired with stone give you months of color on almost no supplemental water.
The catch is the first year.
Even drought tolerant plants need regular water while their root systems establish, so don’t assume “drought tolerant” means “ignore it immediately.”
Space plants wider than feels natural at planting time.
Dry garden plants sprawl hard once established, and a bed that looks sparse in spring will be dense and full by the following summer.
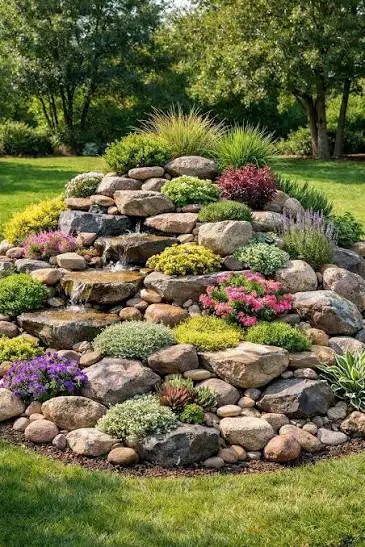
Have a rock garden around a water feature

Stone and moving water are one of the oldest pairings in garden design and it’s for a reason. They look good.
Stack flat rocks to create a natural looking spillway for a small pondless waterfall, and use rounded river rock at the base where water pools and slows.
Seal or mortar the rocks that direct water flow, but leave the surrounding rocks loose and unmortared.
That contrast between the engineered part and the natural looking part is what keeps the whole feature from looking like a plumbing project.
Plant moisture lovers like creeping Jenny or Japanese sweet flag right at the water’s edge, then transition to drought tolerant rock garden plants as you move away from the water.
Matching the plant to its exact moisture zone makes the whole feature look like one coherent landscape instead of two competing ideas.
Create a Japanese-inspired rock garden

A true Japanese style rock garden, sometimes called karesansui, relies on a few elements used with extreme intention.
Three to five rocks, carefully raked gravel, and one pruned shrub can carry an entire space when everything else is empty.
Resist the urge to add more once you place it.
The empty gravel is not unfinished space waiting to be filled. It’s the entire point, meant to represent water or open sky.
Rake the gravel in deliberate lines around your rocks and refresh those lines regularly.
A karesansui garden with scuffed, messy gravel loses its entire meaning, since the raking itself is part of the design.
Use white gravel to make green plants stand out

Standard gray gravel is fine, but white or pale gravel does something gray can’t.
It throws every green plant in your bed into sharp visual contrast, making foliage look richer and more saturated than it actually is.
White gravel also reflects light back up into plants, which benefits anything tucked into shadier crevices that might otherwise struggle for light.
I’ve seen plants in a shaded corner perform noticeably better once the gravel around them switched from dark to light colored.
The tradeoff is upkeep.
White gravel shows dirt, leaf litter, and algae staining faster than darker stone, so plan on rinsing or raking it more often if you want it to stay looking crisp.
Mix rocks of different sizes

A rock garden built entirely from similarly sized stones looks manufactured, like it came shrink wrapped from a pallet.
Real geologic deposits have huge variation, from boulders down to pebbles down to sand, all sitting together.
Aim for at least three distinct size tiers in your design.
Large anchor boulders, medium accent stones, and small gravel or pebble fill around the base of each.
The small stuff matters a lot.
Fine gravel filling the gaps between your big rocks is what sells the illusion that this formation has been sitting there for years.
Turn an unused corner into a small rock garden

That awkward corner where nothing grows, next to the AC unit or behind the shed, can be a rock garden territory.
Poor soil and odd shade patterns that kill regular plantings are exactly the conditions rock garden plants tolerate best.
Start with just three to five rocks and a handful of tough plants like sedum or dwarf conifer.
A small corner rock garden doesn’t need the scale or drama of a front yard feature to look intentional.
Use the space’s awkwardness to your advantage.
An oddly shaped corner forces a more natural, asymmetrical layout than a perfectly rectangular bed ever would.
Design a minimalist gravel and stone garden

Sometimes the most striking rock garden has almost no plants in it at all.
A handful of sculptural boulders set into a field of raked or smoothed gravel tend to carry more visual weight than a densely planted bed.
The key is restraint in your material palette.
One rock type, one gravel color, maybe two plant species used sparingly, repeated with confidence rather than variety piled on variety.
This style photographs incredibly well.
Clean lines and negative space read clearly even in a small square image, which is exactly the format most people are scrolling through when they find garden inspiration.
Use river rocks to create a dry creek bed

A dry creek bed is one of the most functional rock garden features you can build, because it solves a drainage problem while giving your garden an interesting look.
Smooth, rounded river rock in a shallow, meandering channel directs runoff away from your foundation during heavy rain.
Vary your rock sizes along the channel the way an actual creek would.
Larger rocks at the outer edge of each curve, smaller rock and gravel in the straighter middle sections, mimicking how real moving water sorts stone by weight.
Give the bed a slight curve rather than a straight line, even if a straight line would be more efficient to dig.
Water in nature never runs in a perfectly straight channel, and a straight dry creek bed will make the feature look fake.
Build a rock garden around a large feature boulder

If you can get your hands on one genuinely massive boulder, let it be the star and build everything else in support of it.
A single dramatic stone, half buried and properly oriented, can anchor an entire garden bed on its own.
Keep everything else in the bed smaller and lower than the feature boulder.
Competing with it using other large rocks dilutes the impact that made you want a feature boulder in the first place.
Plan for the delivery and placement before you fall in love with a specific rock.
A boulder large enough to be a true feature often needs equipment to move, and I’ve seen plenty of dream boulders abandoned in a driveway because nobody thought through how to get it into the backyard.
Create a layered rock garden on a slope

A slope is the best possible starting point for a rock garden, since gravity and drainage are already working in your favor.
Terrace the slope into two or three distinct layers using larger rocks as informal retaining walls between each level.
Plant each layer according to its own drainage reality.
The top layer dries fastest and suits true drought lovers, while the bottom layer holds more moisture and can support slightly thirstier plants.
Stagger your terraces so they don’t run in perfectly parallel lines across the slope.
Related Posts: