Struggling with a Brown Lawn? Simple Steps to Bring Your Lawn Back To Life
Last Updated on April 20, 2026 by Duncan
Nobody wants a brown lawn. Unfortunately, it happens, and it comes about due to plenty of reasons.
Reasons for Your Grass Dying
Draught
If you had travelled for a few weeks during summer and you failed to water the grass, and it’s not raining, your grass can dry as there is no enough water to keep the roots alive.
It’s normal for grass to go dormant for two to three weeks, and they can survive without water at this time. However, when the hot, dry weather continues, it can completely kill the grass.
While you can revive a dormant lawn by watering it, you can’t bring back grass that is dead.
Poor mowing
To many homeowners, mowing is as simple as igniting the lawnmower and getting the work done. While this is the case, you need to be cautious of the height you mow your lawn.
You should note that by mowing your lawn too short, you tend to stress the grass, triggering it to turn dry and brown.
When mowing, remove no more than 1/3 the height of the grass at each mowing. You also should mow the grass regularly, taking care not to let the grass grow too long.
Thatch
Thatch is a thick layer of roots, decomposed stems, and debris that build up under the grassroots. You might have heard “experts” saying that thatch results from grass clippings, but this isn’t the case.
This is because the clippings decompose quickly and add healthy nutrients to the lawn.
A clear sign you got too much thatch in your lawn is the lawn turning brown in different areas when summer rolls around. To determine the amount of thatch you have, dig a 2-inch (5 cm) a deep chunk of grass.
A healthy lawn should have ¾ -inch (2 cm) of brown thatch between the green grass and the soil surface. If you have more than that, you have to dethatch the lawn.
Fungus
If you live in an area infested fungus, it can attack different areas of the lawn leading to a patched lawn.
Improper watering
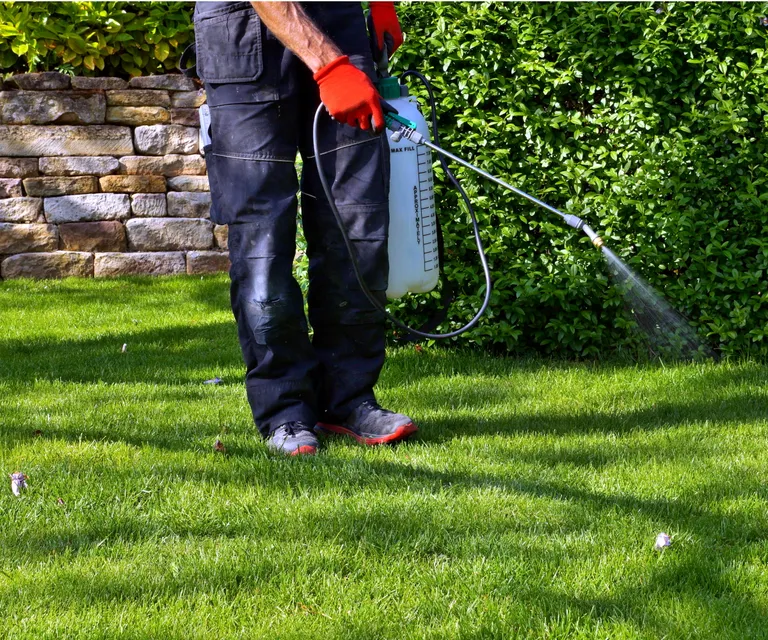
Water is life, but when you do it the wrong way, you end up having an ugly, wilted lawn. Some of the poor watering practices include: frequent, shallow irrigation that leads to weak roots.
To keep your lawn in top shape, don’t water it if you don’t have to.
Salt damage
Is the browning lawn adjacent to a street, sidewalk, or driveway? The browning might be due to salt damage. Luckily, you can recover the grass by soaking grass to dilute the saline concentration.
If the damage is severe, reseeding the lawn will help a great deal.
Insects
Pest infested grass tends to turn brown due to root damage. A great way to tell if you have insects in your lawn is to pull the grass. If it pulls out easily, it’s most likely infested with grubs.
You should note that pests and insects invade lawns that are overly watered, neglected, or excessively fertilized.
Pet spots
If your pets frequent your backyard and the brown grass is limited to small areas, the pets might be going potty on your lawn.
To bring the grass back to life, water the grass thoroughly. Also, teach your puppy to relieve himself at a better spot.
Steps to Bringing Your Lawn Back To Life
If your grass has turned brown, you can bring it back to life. To do it, here are the steps you should follow:
Aerate the lawn
Lawn aeration involves the removal of small soil plugs that are 1 inch in diameter.
When you aerate the lawn, you create holes that allow air, water, and nutrients to get into the roots, allowing the grass to grow deeply and healthily.
Two main aerating tools you can use are plug and spike aerators. With a spike aerator, you poke holes into the ground with a fork or solid tine.
A plug aerator removes the plug or core of the grass from the lawn. This makes it the best tool for the job. Avoid poking holes in your lawn as the practice is not only ineffective, but it also leads to additional compaction.
An ideal aerating tool should remove soil plugs that are at least 2 inches deep, 0.5 inches in diameter, and 2 inches apart.
How to aerate your lawn
Before you begin, ensure the lawn is moist enough, so you have an easy time.
Most aeration machines cover a small area of soil surface per pass, so you will need to make several passes, especially if the area has been heavily compacted.
For the excavated soil plugs, allow them to dry and break them up to give your lawn a uniform, clean look. You can break the soil by running them over with a lawnmower or pounding them with the back of a rake.
PS: lawn aeration is not a weed prevention method.
Step 2: seed the lawn
The first thing to think about when seeding the lawn is the type of grass that is right for your lifestyle, location, and budget. Start with thinking about the type of lawn you want and the growing conditions in your area.
Some of the questions to ask yourself include: will the lawn be receiving enough sun? Will it be receiving a lot of foot traffic? Will the pets be going to the lawn?
If you aren’t sure about the right grass to grow, ask an expert to help you out. You can also read this article.
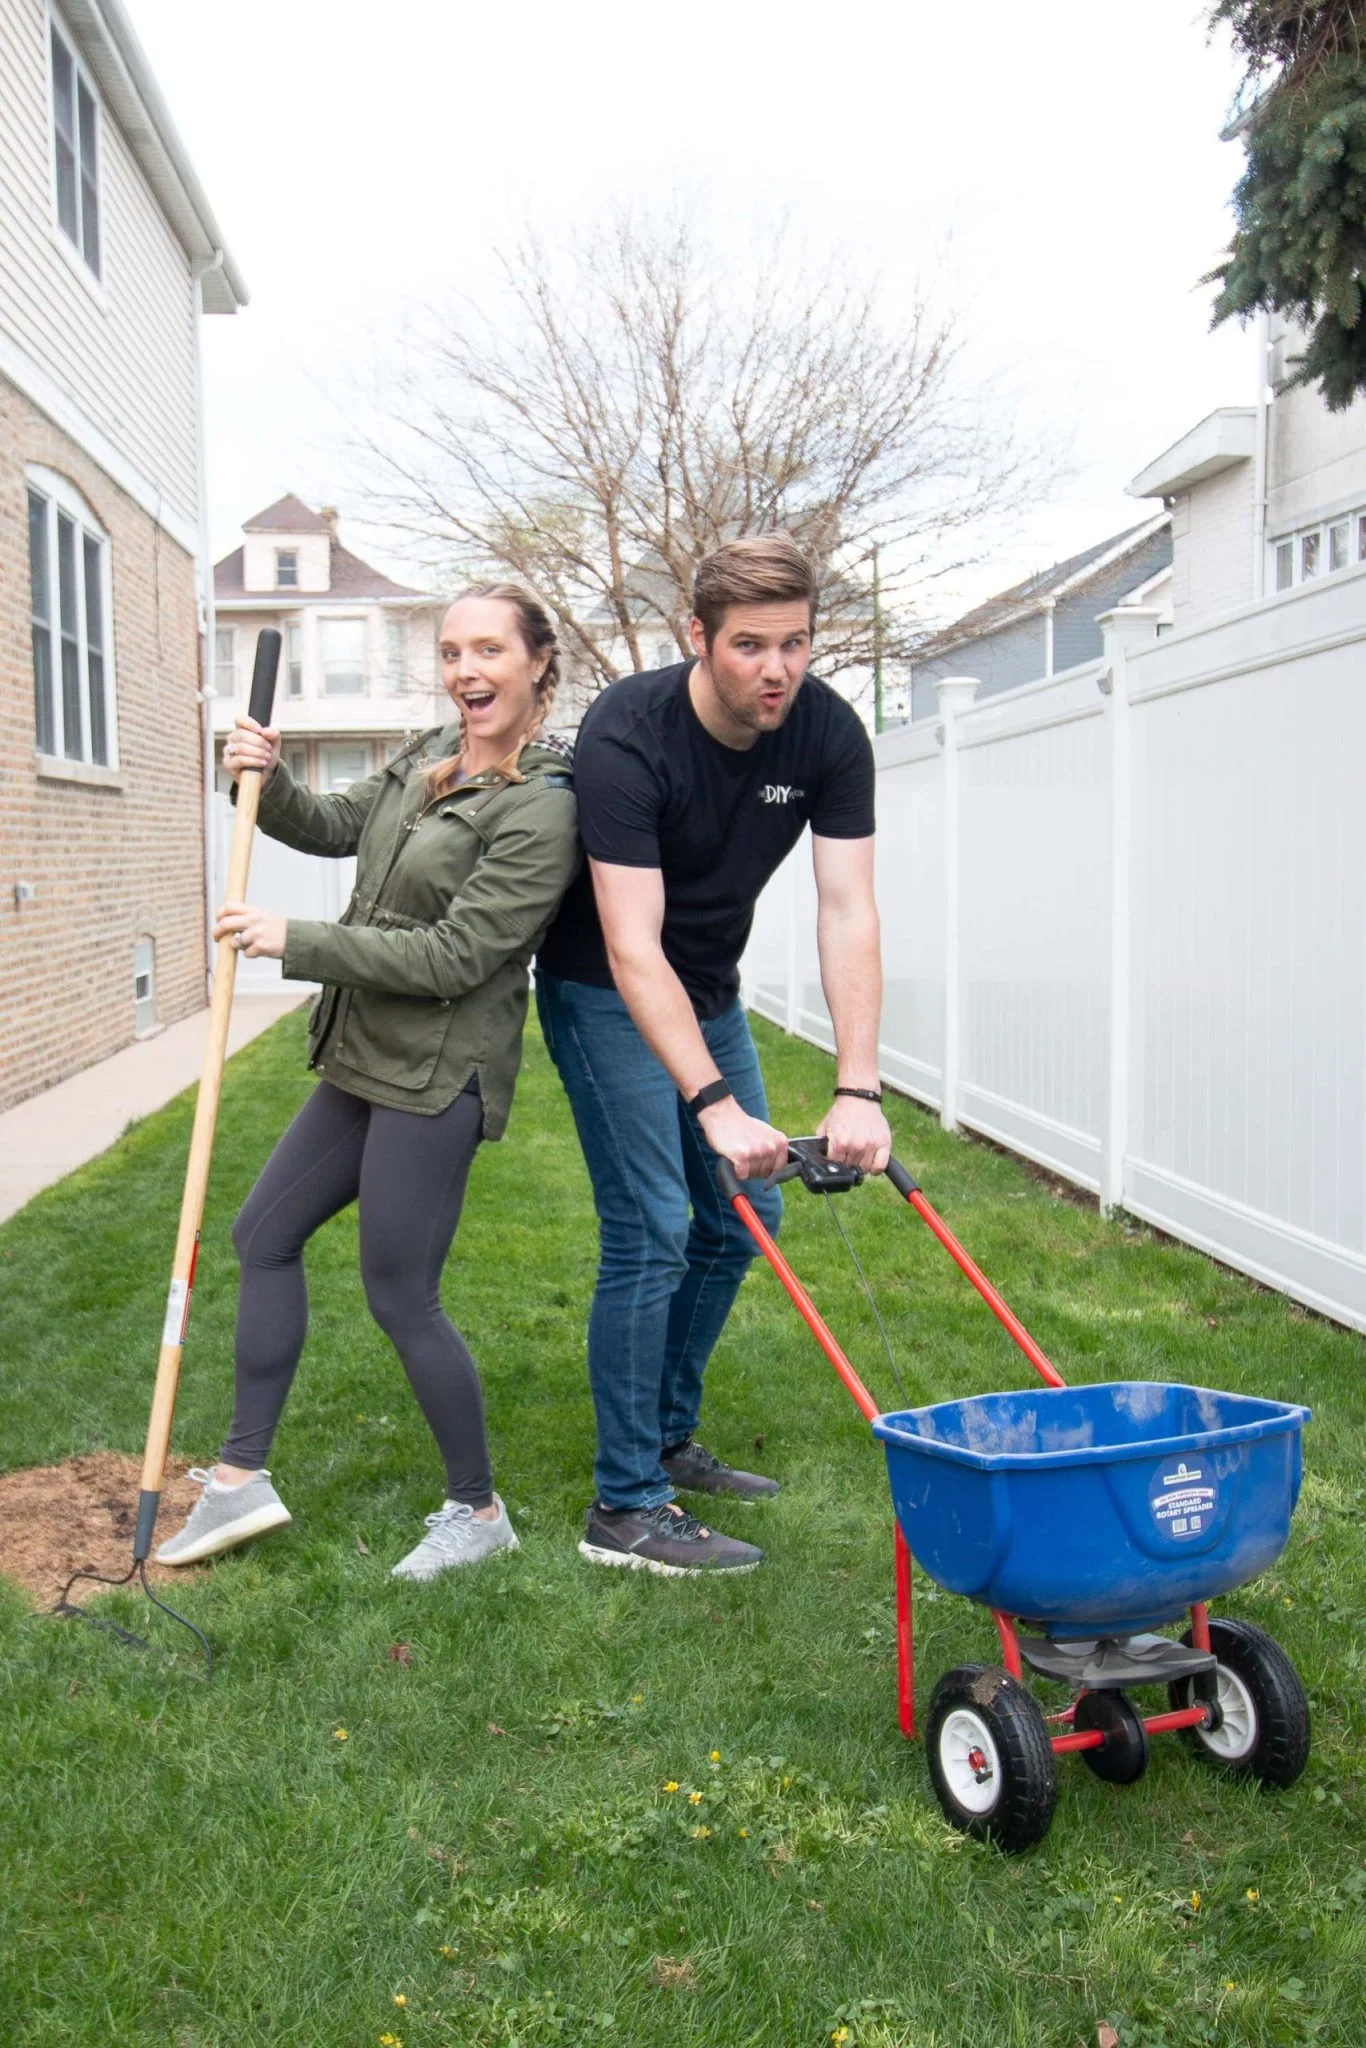
Once you have found your ideal grass, now it’s time to plant it. If you have a small lawn, you can plant it with your hands, but if the area is big, you should use a spreader.
When it comes to spreaders, you have two options: drop or broadcast spreader.
A drop spreader drops the seeds straight in the path of the spreader. This spreader is ideal when you have lawns less than 5000 sq.ft.
A broadcast or rotary spreader, on the other hand, spreads seeds by fanning then out in all directions, which gives you a more uniform coverage. Due to its mode of working, this spreader is ideal when you have a large lawn.
After spreading the seed, use a rake to lightly work the seed deep into the soil at a depth of at least ¼ inch. Take caution not to bury the seeds too deep as they need adequate light to germinate.
If you can afford it, pass over the area with a roller. This ensures maximum seed to soil contact, which comes in handy at ensuring the seeds germinate and grow healthy.
Step 3: Water the new seeds
To quickly restore your lawn, you need to water the new seeds. When watering, note that you have to keep them moist, not soggy. Water the newly seeded areas two to three times a day with a light spray.
Stop watering when paddles start forming on the soil surface. When the seeds begin to germinate, gradually transition to watering less frequently, but more heavily.
You should taper off watering as the grass gets taller and mature.
Step 4: Monitor and reseed
Grass seed germination takes between 5 and 21 days, depending on the grass you are growing. You should give your grass another 4-10 weeks for the roots to be well established.
Most grasses will take up to a full season for them to be ready for foot traffic.
When the new seedlings reach 1 inch in height, inspect the seeded area for bare spots or areas you might have missed.
You should reseed the areas and repeat the process until all the new seedlings are thick, and you are satisfied with the results.
Mow and Maintain the Grass
Once your grass reaches 3 inches high, you should start mowing it.
When mowing, follow the right mowing tips such as never removing more than 1/3 of the grass blade in a single mowing as you will stress the grass and invite lawn weeds, lawn diseases, and weak growth.
Related Posts: