How to Bring Your Dying Lawn Back to Life
Last Updated on May 16, 2026 by Duncan
Three years ago I inherited a lawn that looked like it had been given up on. The previous owner had let it go entirely for at least two seasons: bare patches covering a third of the yard, soil so compacted you could barely push a screwdriver into it, and a thatch layer thick enough that water was sitting on top rather than soaking in.
I brought it back over the course of a single growing season using most of the methods in this article. This guide covers everything I did and a few things I learned not to waste time on.
The most important thing to understand about a dying lawn is that the cause matters more than the cure. Overseeding a lawn that is dying because of soil compaction will not work until you aerate.
Watering a lawn that is dying because of grub damage will only feed the problem. Take a few minutes to diagnose before you spend money on products.
Diagnose Before You Treat
Pull up a small section of dead or struggling grass and look at what is underneath. Healthy soil should be dark, crumbly, and have visible worm activity.
Compacted soil is pale, dense, and breaks in chunks. A thick spongy layer sitting between the grass blades and the soil is thatch. White C-shaped grubs in the top two inches of soil indicate grub damage, which can also signal a mole problem since moles follow the food.
If the grass is uniformly thin and yellow rather than patchy, the issue is more likely a nutrient deficiency, insufficient watering, or mowing too short.
Patchy brown areas that have a circular or irregular shape and a slightly matted appearance are often fungal disease. These require a different treatment than mechanical problems and are worth having professionally tested.
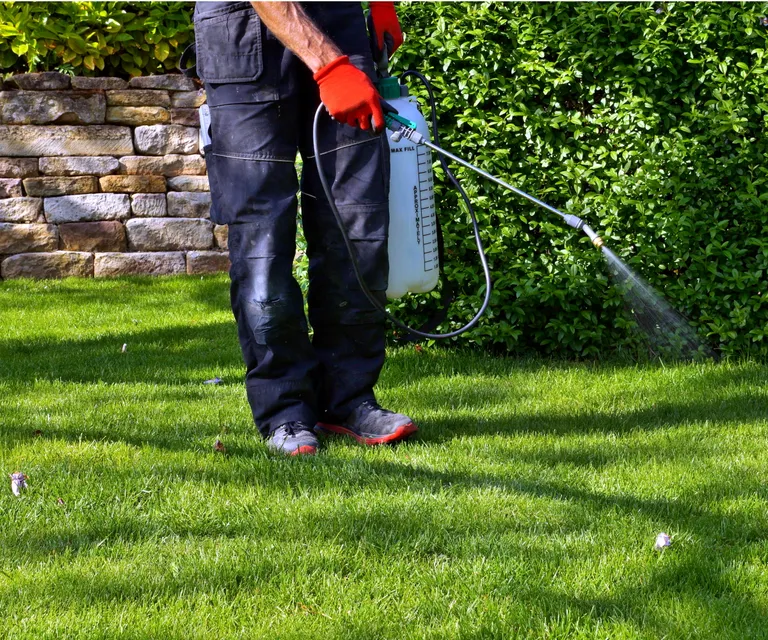
Get Rid of Moles
Moles do not eat grass. They eat the insects living in your soil, primarily grubs and earthworms, and the tunnels they leave behind are the byproduct of that hunt.
A single mole can dig 100 feet of tunnel in a single day, and the raised ridges and surface mounds that result from that activity sever grass roots and create uneven ground that is difficult to mow.
The most effective long-term strategy is removing the food source. If grubs are present, treat them with an insecticide appropriate for the grub species and life stage in your area. Preventative grub treatments applied in late spring target eggs and young larvae.
Curative treatments applied in late summer address the larger grubs already established in the soil.
Check with your local cooperative extension office before buying because the wrong product for the wrong life stage will accomplish nothing. Once the grubs are gone, moles will naturally relocate to better hunting ground.
For faster results, ultrasonic stakes that emit a vibration moles find irritating can discourage them from specific areas. Castor oil sprays and granules applied to the lawn surface are another nontoxic deterrent that moles consistently avoid.
Neither of these methods is 100 percent reliable on its own, but combined with grub elimination they are usually sufficient.
You can also create physical barriers in areas where moles repeatedly tunnel. Burying a layer of gravel or hardware cloth about eight inches below the soil surface along a garden edge or lawn border gives them a barrier they cannot dig through.
On the planting side, moles dislike alliums, marigolds, and daffodils and will generally avoid areas where these plants are established.
For more on general lawn care fundamentals that keep a lawn resilient enough to recover from mole damage, read our full lawn care guide.
Topdress with Compost
Topdressing is the process of spreading a thin layer of compost across the surface of an existing lawn to improve soil quality over time without digging up the grass.
It is one of the most underused techniques in home lawn care and one of the most effective for lawns with poor, sandy, or clay-heavy soil.
The correct amount is a quarter inch to a half inch of compost spread evenly across the lawn. More than half an inch risks blocking sunlight and oxygen from reaching the grass crowns, which causes more harm than it fixes.
Use a shovel and wheelbarrow to distribute piles across the yard, then rake them out as evenly as possible. The goal is for the compost to fall between the grass blades and make contact with the soil surface rather than sitting on top of the grass.
The best compost for topdressing is mature, well-aged material that is dark and earthy rather than chunky or fibrous.
Finished compost introduces beneficial microorganisms that break down thatch, improve drainage in clay soils, and improve water retention in sandy soils.
Over one to two seasons of repeated topdressing, the soil structure underneath improves noticeably.
After spreading compost, water your lawn to help the compost settle into the turf. Topdressing is most effective when done in the fall or early spring when grass is actively growing and can quickly take advantage of the improved soil conditions.
Water Correctly
Watering a lawn seems straightforward but the most common mistake homeowners make is doing it too frequently in too small an amount.
A lawn that receives a light sprinkle every evening develops shallow roots that sit close to the surface. Those roots are the first to die during drought and the first to be eaten by grubs.
The correct approach is to water infrequently but deeply. The goal is to wet the soil to a depth of 4 to 6 inches below the surface. At that depth, the moisture feeds the roots rather than just the surface layer, and the grass responds by growing its root system downward to follow the water.
Deeper roots mean more drought resistance, better nutrient uptake, and a lawn that bounces back faster from stress.
In most climates, a healthy established lawn needs about one inch of water per week, either from rain or irrigation. Rather than watering daily, water two or three times per week with enough volume each time to reach the full six-inch depth.
The easiest way to know if you have reached that depth is to push a long screwdriver into the soil an hour after watering. It should slide in smoothly to the six-inch mark. If it hits resistance before that, your irrigation time needs to increase.
Water in the early morning rather than in the evening. Morning watering allows the grass blades to dry during the day, which reduces the risk of fungal disease. Evening watering leaves grass wet overnight, which is one of the most common causes of lawn fungus.
Raise Your Mowing Height
Cutting grass too short is one of the fastest ways to weaken a lawn. When grass is cut very short, it redirects energy away from root development and toward regrowing blade length. The result is a shallow root system that stresses easily and a lawn that looks perpetually thin.
The rule of thumb is to never remove more than one third of the grass blade in a single mowing session. For most cool-season grasses like fescue and bluegrass, the ideal mowing height is 3 to 4 inches.
For warm-season grasses like Bermuda and zoysia, the range is lower, typically 1.5 to 2.5 inches, but the one-third rule still applies.
Taller grass shades the soil surface, which has two significant benefits. It slows moisture evaporation, reducing your watering needs, and it inhibits weed and crabgrass germination by keeping the soil surface darker and cooler.
Many lawns with persistent weed problems see a dramatic improvement simply from raising the mower deck two notches.
For a full breakdown of the other mowing mistakes that damage lawns, including the damage caused by dull blades, read our dedicated guide.
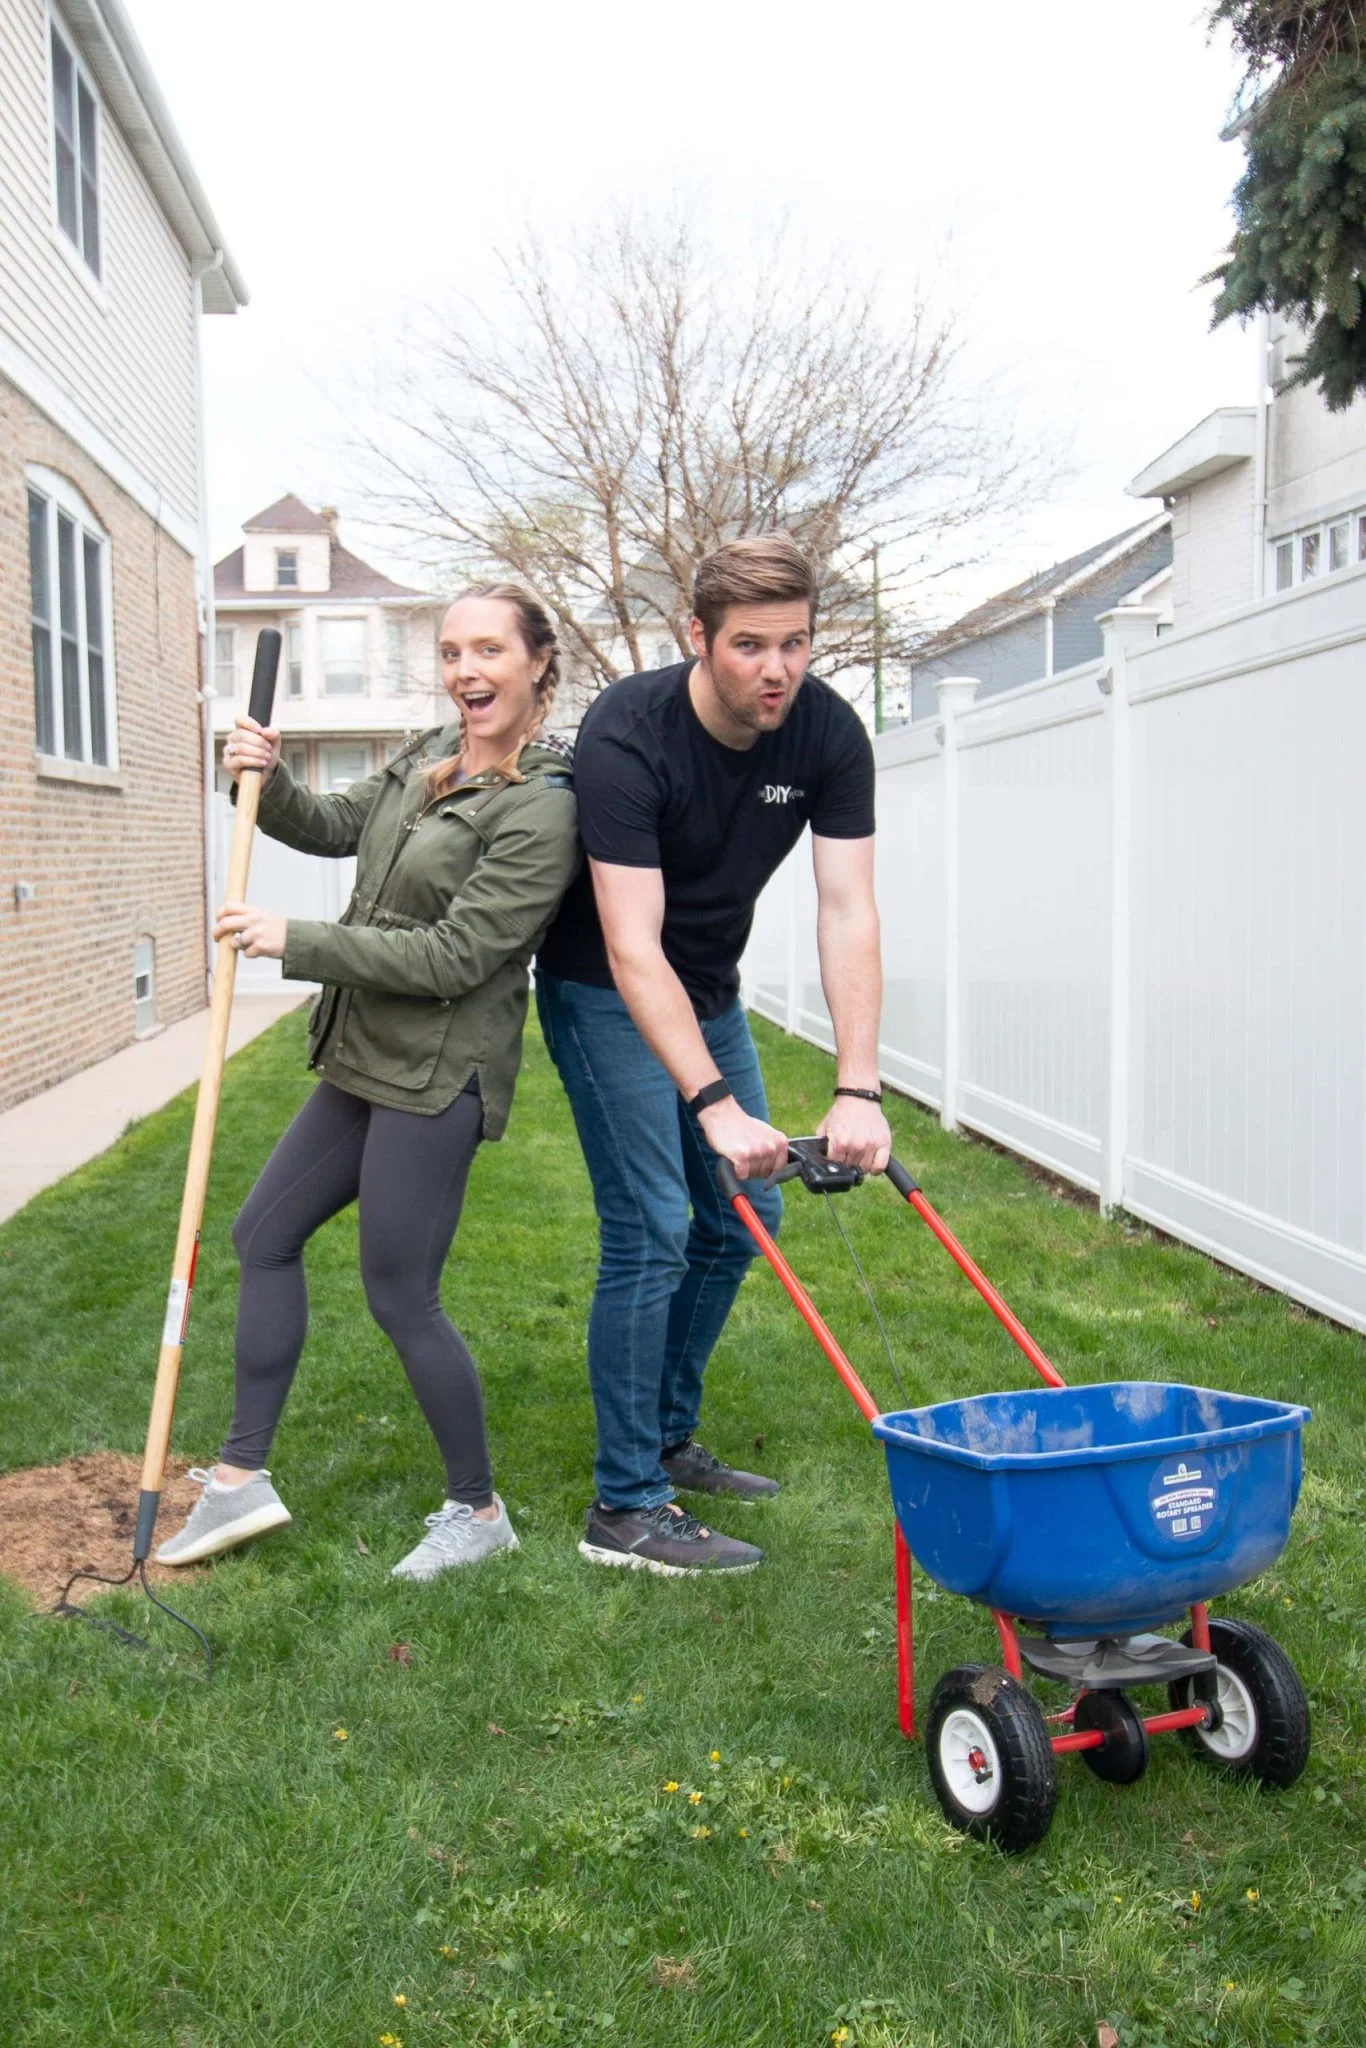
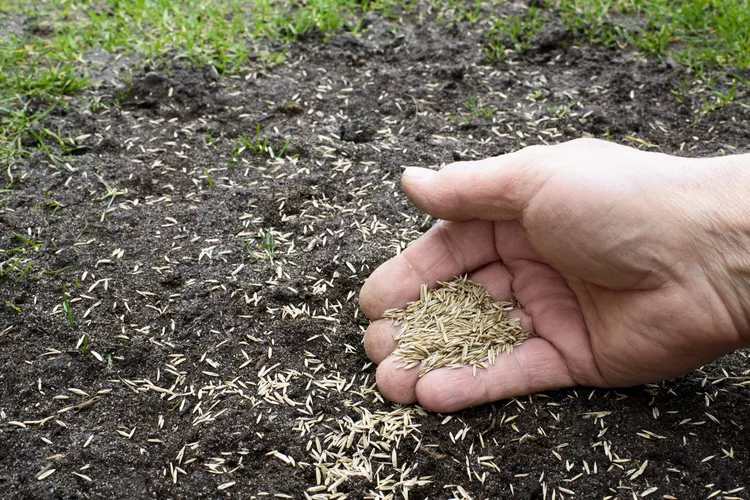
Overseed the Bare Patches
If your lawn has visible bare or thin patches after you have addressed the underlying cause, overseeding is the most cost-effective way to restore density. Overseeding means applying fresh grass seed over existing turf without tilling or removing what is already there.
Timing matters significantly. For cool-season grasses, late summer to early fall is the optimal window. Soil temperatures are warm enough for fast germination but air temperatures are cooling down, which reduces stress on new seedlings.
For warm-season grasses, overseed in late spring when soil temperatures have consistently reached 65 degrees Fahrenheit or above.
Before overseeding, mow the existing lawn short and rake out any debris to give seeds direct contact with the soil. Aerate first if you can, since seed that falls into aeration holes germinates at a much higher rate than seed sitting on compacted surface soil.
Use a grass seed variety matched to your climate zone and light conditions. Shaded areas need shade-tolerant blends; sunny lawns can use standard turf varieties.
Water the overseeded area lightly every day until germination occurs, which typically takes 7 to 21 days depending on the species.
Once seedlings reach one inch tall, transition to deeper, less frequent watering to encourage root development. Keep foot traffic off the area until the new grass has been mowed at least twice.
Use Epsom Salts for Magnesium Deficiency
Epsom salts are magnesium sulfate, a compound that supplies two nutrients grass needs in moderate quantities: magnesium and sulfur. Magnesium is a central component of chlorophyll, so a deficiency shows up as yellowing between the leaf veins.
Sulfur supports protein synthesis and the dark green color that healthy turf is known for.
The critical qualifier is that Epsom salts only help if your soil is actually deficient in these nutrients. Applying them to soil that already has adequate magnesium and sulfur does nothing measurable and can eventually create a mineral imbalance.
Before spending money on this treatment, do a basic soil test. Most cooperative extension offices process soil samples inexpensively and the results will tell you exactly what your lawn is missing.
If your soil test confirms a deficiency, apply Epsom salts in spring when the grass is actively growing. The liquid method works faster: dissolve 2 teaspoons of salt in one gallon of water and apply with a garden sprayer or watering can.
The dry method is easier for large areas: apply at a rate of 3 pounds per 1,250 square feet using a broadcast spreader, then activate it with irrigation immediately afterward.
The Epsom Salt Council recommends re-applying every four to six weeks during the growing season.
Remove the Thatch Layer
Thatch is the layer of partially decomposed organic matter, made up of dead grass stems, roots, and other debris, that accumulates between the green grass blades and the soil surface.
A thin layer of thatch up to about half an inch actually protects soil moisture and moderates soil temperature. Beyond half an inch, it becomes a barrier that blocks water, fertilizer, and air from reaching the roots.
A thick thatch layer also creates ideal conditions for fungal disease because it stays persistently moist and provides organic matter for pathogens to feed on.
If you press your hand into your lawn and it feels spongy, and if water beads on the surface after rain rather than soaking in, you likely have a thatch problem.
The most effective way to remove established thatch is power raking, also called dethatching. A power rake resembles a lawn mower but uses rotating metal tines instead of blades to comb through the turf and pull the thatch to the surface.
Adjust the tine depth to just below the thatch layer so you are removing debris without tearing up healthy roots. The pulled material then needs to be raked up and removed from the lawn.
Power raking can be done in early spring or early fall. A manual thatch rake will accomplish the same thing on a smaller lawn but requires significantly more effort.
After dethatching, the lawn will look rough and slightly torn up for a week or two. This is normal. Follow up with overseeding and fertilizer to take advantage of the improved soil access.
Aerate the Soil
Aerating and dethatching are often confused but they address different problems. Dethatching removes debris from above the soil.
Aeration relieves compaction below the soil surface by physically removing small plugs of earth to create channels for air, water, and nutrients to travel down to the root zone.
Compaction is most common in lawns that see heavy foot traffic, lawns with clay-heavy soil, and lawns where vehicles are occasionally driven over the grass.
The symptoms are water pooling on the surface after rain, a lawn that feels hard underfoot, and grass that stays thin despite fertilization and adequate moisture.
There are two types of aerators. A plug or core aerator pulls out actual cylinders of soil and deposits them on the surface. A spike aerator punches holes without removing material.
For most compaction problems, core aeration is significantly more effective because the removed plugs create genuine space for the surrounding soil to expand into.
Spike aeration can actually increase compaction over time by pushing soil sideways rather than removing it.
Water the lawn the day before aerating to soften the soil and make it easier for the tines to penetrate. After aeration, the soil plugs on the surface will break down naturally within a week or two.
Apply fertilizer and grass seed immediately after aerating since the open holes create ideal conditions for root development and seed germination.
Plan to aerate once per year for heavily compacted soils or lawns with high traffic, and once every two to three years for lawns in good condition as routine maintenance.
Lay New Sod for Immediate Results
When a lawn has more dead area than living grass, or when the underlying soil problems have been so severe that the existing turf is beyond recovery, laying new sod is the most reliable path to a full lawn quickly.
Unlike seeding, sod gives you an established lawn within two to three weeks of installation rather than months.
Sod installation is a weekend project but it requires proper preparation to succeed. Start by removing any remaining dead grass and debris.
Run a rototiller over the soil to break it up to a depth of at least four inches, remove rocks, and work in any compost or soil amendments your soil test recommends.
Rake the surface level, since low spots will settle further and create dips that affect mowing and drainage.
Lay the sod rolls in a staggered pattern similar to brick laying, with the seams of each row offset from the row beside it. Push the edges of each piece tightly together so there are no visible gaps.
Use a sharp utility knife to cut pieces around obstacles like tree trunks and garden edges. Once all pieces are laid, go over the entire area with a lawn roller to press the roots firmly against the soil, which accelerates establishment.
Water the sod daily for the first two weeks, keeping the soil beneath consistently moist. Do not allow it to dry out during this establishment period or the roots will not bond with the underlying soil.
After two weeks, pull gently on a corner of one piece. If it resists, the roots have taken hold. Begin transitioning to a normal watering schedule at that point.
Call a Professional When the Problem Is Beyond DIY
A weekend of focused work is enough to address most mechanical lawn problems: compaction, thatch, bare patches, incorrect watering habits.
But there is a category of lawn problems that are genuinely difficult to diagnose and treat at home, and spending money on the wrong treatments while waiting to call an expert often makes them worse.
Fungal diseases in particular are easy to misidentify. Gray snow mold, necrotic ring spot, crown rot, anthracnose, and microdochium patch all look superficially similar: brown patches, dying grass, sometimes a slightly matted or crusty surface.
Each requires a different fungicide and some require specific application timing to be effective. Applying the wrong product at the wrong time is not just useless, it can encourage resistance in the pathogen.
If your lawn has persistent circular or irregular brown patches that do not respond to improved watering and mowing, or if dead patches keep returning in the same location after you have overseeded them, have a professional pull samples and get them tested.
A lawn care professional or your local extension service can identify whether the problem is bacterial, fungal, or pest-related and recommend a targeted treatment rather than a series of expensive guesses.
When choosing a lawn care company, ask what diagnostic process they use before recommending treatment and whether they stand behind their work with a follow-up visit policy. A good professional welcomes that question.
One that recommends a treatment plan before looking closely at the lawn is worth getting a second opinion on.
The Sequence Matters
The methods in this article are not independent choices. They work best in a specific order. Aerate and dethatch first, since both improve the effectiveness of everything that comes after. Apply compost topdressing after aerating while the channels are open.
Overseed into the aerated and topdressed surface so seeds have the best possible germination conditions. Then adjust your mowing height and watering habits to maintain the improvements you have made.
If you are also dealing with grubs or moles, treat those before you invest in seeding and topdressing, since active grub damage will undermine newly seeded areas. Get the pest problem under control first, then focus on recovery.
A lawn that looks genuinely dead in spring can often be brought back by fall of the same year with this sequence.
The one that took me a full season to restore looked reasonable by September and excellent by the following spring. The work is not complicated. It just has to happen in the right order.
Related Posts: