7 Ways To Bring Back Dead Grass — And How to Know If It’s Worth Trying
Last Updated on April 24, 2026 by Duncan
Every lawn goes through rough patches — sometimes literally. Brown, thin, or bare grass is not always a death sentence. In many cases the grass is dormant rather than dead, or is stressed by a correctable condition.
The single most important step before doing anything else is to determine whether the grass is actually dead or simply under stress.
Treating dormant grass as if it were dead wastes time and money and can introduce unnecessary chemicals and mechanical disruption to a lawn that would have recovered on its own.
This guide moves through the full sequence: identifying what caused the damage, confirming whether the grass is dead or dormant, the seven most effective recovery methods, and — when all else fails — how to renovate the lawn from scratch correctly.
What kills grass?
Understanding the cause of grass death is essential before selecting a recovery method. Applying the wrong treatment to a misdiagnosed problem is at best ineffective and at worst makes the situation worse. The most common causes of grass death and serious decline are:
Dull mower blades
——————————
A mower blade that has not been sharpened recently does not cut grass cleanly — it tears and shreds the blade tips, leaving ragged, frayed edges. These torn edges desiccate rapidly and turn brown within two to four days, giving the entire lawn a scorched appearance.
More critically, the damaged tissue is an open entry point for fungal pathogens and bacterial infection. A dull blade also exerts significantly more mechanical strain on the mower’s drive system.
Inspect blades before each mowing session. A properly sharpened blade should have a clean, smooth edge with no visible nicks or rolled-over sections. Sharpen or replace blades at least once per season, and more frequently if you are mowing regularly or over stony ground.
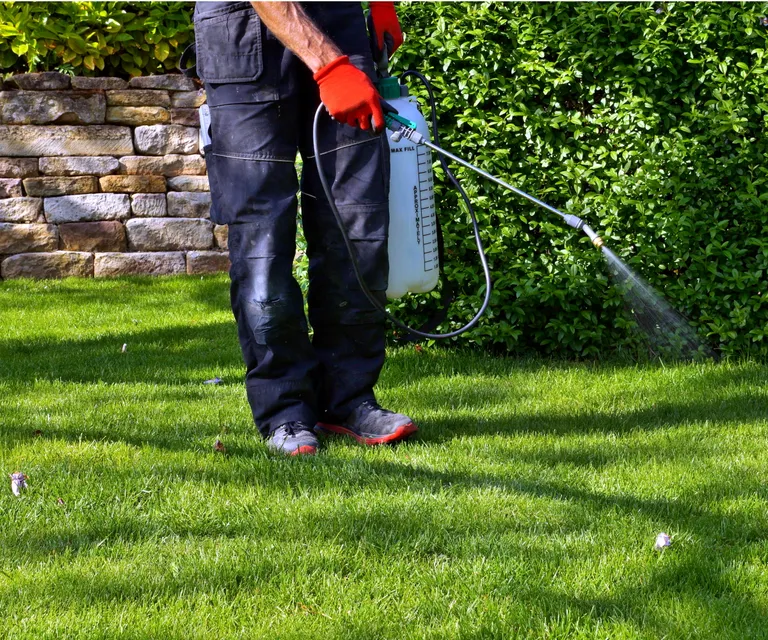
Chemical burn — fertiliser, pesticides, and fuel spills
——————————
Incorrectly applied or spilled chemicals are a common cause of irregular brown patches on otherwise healthy turf.
Fertiliser applied at too high a rate, or applied to wet grass in hot conditions, draws moisture out of the leaf tissue through osmotic pressure — a process called fertiliser burn.
Spilled fuel, concentrated pesticides, and some insect repellents cause similar localised burn patterns. The resulting patches are typically sharply defined, corresponding to the spill or application zone, which helps distinguish chemical burn from disease or drought stress.
Animal urine
——————————
Dog urine contains high concentrations of nitrogen compounds, primarily urea. In small amounts this can have a mild fertilising effect, which is why urine spots are often surrounded by a ring of darker green grass.
In higher concentrations, particularly from repeat visits to the same spot, the nitrogen load exceeds what the grass can assimilate and causes burn damage. The resulting patches are typically circular, yellow to brown at the centre, with a green or darker ring at the periphery.
Poor soil quality and compaction
——————————
Grass planted into shallow, low-fertility, or heavily compacted soil struggles regardless of how well the surface is maintained. Compacted soil has reduced pore space, limiting the oxygen and water available to the root zone.
Over time, roots become shallow and the turf thins progressively. Soil quality decline is gradual and often attributed to other causes — it is identified most reliably by a soil test, which will reveal pH imbalances, nutrient deficiencies, and organic matter levels.
Erosion
——————————
On sloped ground, surface water runoff carries topsoil, seed, and young grass plants downhill, leaving bare, compacted substrate behind.
Erosion-damaged areas are identifiable by their location on slopes and by the absence of topsoil — the exposed surface is often a different colour and texture from the surrounding turf area.
Recovery on eroded slopes requires stabilisation measures before reseeding, including topdressing with compost, erosion-control matting, and in severe cases, regrading.
Drought and underwatering
——————————
Lawns require a minimum of one inch of water per week — from rainfall, irrigation, or a combination of both — to sustain active growth.
In dry periods, cool-season grasses will enter dormancy (turning brown but remaining alive) within two to three weeks of the soil drying out.
Extended drought beyond five to six weeks can push dormant grass to the point of actual crown death, from which recovery is not possible without reseeding.
Overwatering
——————————
Excessive irrigation is as damaging as insufficient water and is frequently overlooked as a cause of lawn decline. Waterlogged soil displaces the oxygen in the root zone, creating anaerobic conditions that cause roots to suffocate and rot.
Overwatered grass typically shows yellowing, soft, spongy turf, and an increased prevalence of moss, algae, and fungal disease.
Overwatering also promotes shallow root development — roots will not extend into the soil profile if water is consistently available at the surface — which makes the lawn more vulnerable to drought and heat stress.
Dormancy
——————————
Dormancy is not death, and distinguishing between the two is essential before taking any action. Cool-season grasses — Kentucky bluegrass, tall fescue, perennial ryegrass — enter dormancy during prolonged summer heat, turning brown but remaining physiologically viable.
Warm-season grasses — bermudagrass, zoysia, St. Augustine — go dormant in winter.
On lawns containing a mix of species, portions of the lawn may brown at different times, creating a patchy appearance that looks like disease or pest damage but is simply the natural dormancy response of different grass types.
Fungal disease
——————————
Fungal pathogens are responsible for a wide range of turf diseases, including brown patch (Rhizoctonia solani), dollar spot (Clarireedia spp.), red thread (Laetisaria fuciformis), and snow mould (Typhula spp. and Microdochium nivale).
Most fungal diseases are favoured by prolonged moisture, poor air circulation, and excess nitrogen in the plant tissue.
Accurate identification of the specific pathogen — through the pattern, size, and appearance of the affected areas — is important before selecting a fungicide, as different active ingredients target different pathogens.
Thatch — the layer of partially decomposed organic matter that accumulates between the soil and the live grass — is not a disease in itself, but a thatch layer exceeding half an inch creates the warm, moist, low-oxygen conditions that favour fungal establishment. Managing thatch through aeration and scarification is one of the most effective preventative measures against turf disease.
Soil pests and insects
——————————
Soil-dwelling insect larvae cause damage by feeding on grass roots, severing the connection between the plant and its water and nutrient supply.
The turf above a larval infestation turns brown and can often be lifted away from the soil in sections — the root system has been consumed.
The most common culprits in temperate climates are chafer grub larvae (Melolontha spp., Phyllopertha spp.) and leatherjackets (crane fly larvae, Tipula spp.). Chinch bugs (Blissus spp.) are a major pest of warm-season grasses, feeding by extracting plant sap rather than consuming roots.
Before recommending any recovery work, I always ask two questions: when did it last rain properly, and has anyone watered? Those two answers eliminate dormancy as a cause in most cases before we even walk the lawn.
How to tell whether the grass is dead or dormant
========================================
Before beginning any recovery work, confirm whether the grass is actually dead or merely dormant. This distinction determines everything that follows: dormant grass needs time and appropriate conditions; dead grass requires reseeding or renovation. There are three reliable tests:
The tug test
——————————
Select a brown section and grip a small handful of grass firmly at the base, close to the soil surface. Apply steady upward pressure. Dead grass will release from the soil with little or no resistance — the root system has deteriorated to the point where it no longer anchors the plant.
Dormant grass, by contrast, will resist the pull; the root system is still intact and attached. Test multiple areas of the lawn, as different sections may be in different states depending on the cause and duration of the stress.
Pattern assessment
——————————
Step back and observe the overall distribution of brown areas. Uniform browning across the entire lawn, consistent in colour and texture, is characteristic of whole-lawn dormancy — the entire sward has responded to the same stressor (heat, drought, cold) simultaneously.
Irregular, circular, or sharply defined patches of brown within an otherwise green or recovering lawn suggest localised causes: disease, chemical burn, pest damage, or crown death. The presence of distinct patterns should prompt closer investigation before any treatment is applied.
The watering test
——————————
In cases where dormancy vs. death is still uncertain after the tug test and pattern assessment, water the suspected area thoroughly for three to five consecutive days, applying approximately one inch of water per session.
Dormant grass will begin to show new green growth at the base of the brown blades within seven to fourteen days under appropriate temperature conditions.
If no green response is visible after two full weeks of consistent watering, and temperatures are in the suitable growth range for the grass species present, the grass in that area is most likely dead.
I always run the tug test before I do anything else on a brown lawn. I have talked clients out of full renovation jobs — significant expense and several weeks of disruption — because the tug test showed intact roots throughout.
One property in particular had gone completely straw-coloured after a dry August. The owner was convinced it was dead. Every single clump resisted the pull. We irrigated for two weeks and the lawn was fully green by mid-September without a single seed sown.
7 ways to bring back dead or stressed grass
========================================
1. Water correctly
——————————
If drought stress or underwatering is the cause, restoring appropriate irrigation is the most immediate and effective intervention.
The goal is to deliver water deeply and infrequently — not lightly and often. Frequent shallow watering keeps moisture at the surface, which encourages shallow root development and makes the lawn more vulnerable to subsequent dry periods.
Apply water until the soil is moist to a depth of six to nine inches, then allow the top few inches to dry out before watering again. The best time to irrigate is between 6 and 10 am: temperatures are lower, winds are calmer, and the grass blades have time to dry before nightfall.
Evening watering — particularly after 6 pm — leaves the grass surface wet through the night, creating conditions that favour fungal disease. If morning watering is not possible, aim for mid-afternoon rather than evening.
[Tip] A reliable way to check whether your lawn has received enough water is to push a screwdriver or thin metal rod into the turf immediately after irrigation. If it slides in to a depth of six inches without significant resistance, the soil is adequately moist. If it meets hard resistance before that depth, continue irrigating.2. Remove weeds
——————————
Weeds compete directly with grass for water, light, and soil nutrients. In a lawn that is already struggling to recover, active weed competition can suppress grass regeneration significantly.
Remove weeds mechanically — using a hand weeding tool or a fork — in preference to broadcast chemical application, which risks further chemical stress on a lawn in poor condition.
Selective herbicides, used correctly, can be appropriate for heavy or persistent weed infestations. The key word is selective: a product formulated to target the specific weed species present without harming the grass type in your lawn.
Broad-spectrum, non-selective herbicides have no place on a recovering lawn — they are appropriate only when the entire lawn is being removed for full renovation, as described in the final section.
[From experience] The anti-herbicide advice that circulates widely online applies to non-selective products used carelessly — not to selective herbicides used appropriately.On a lawn recovering from stress, I recommend hand-weeding for anything manageable by hand, and a targeted selective broadleaf herbicide for persistent weeds like dandelions or creeping buttercup. Using the right tool for the job is not the same as dousing the lawn with chemicals.
3. Remove excess thatch
——————————
Thatch — the layer of dead stems, roots, and organic debris that accumulates between the soil surface and the living grass — acts as a physical barrier once it exceeds half an inch in depth.
It blocks water from penetrating to the root zone, traps heat, harbours fungal pathogens and soil pests, and impedes the germination of any seed introduced during overseeding.
On small lawns, thatch can be removed with a spring-tine rake, worked vigorously across the turf in multiple directions.
On larger areas, a mechanical scarifier (dethatcher) is significantly more efficient and thorough. Scarify in autumn on cool-season lawns, while the grass still has several weeks of active growth to recover from the process.
Remove and dispose of the collected thatch material rather than leaving it on the lawn surface.
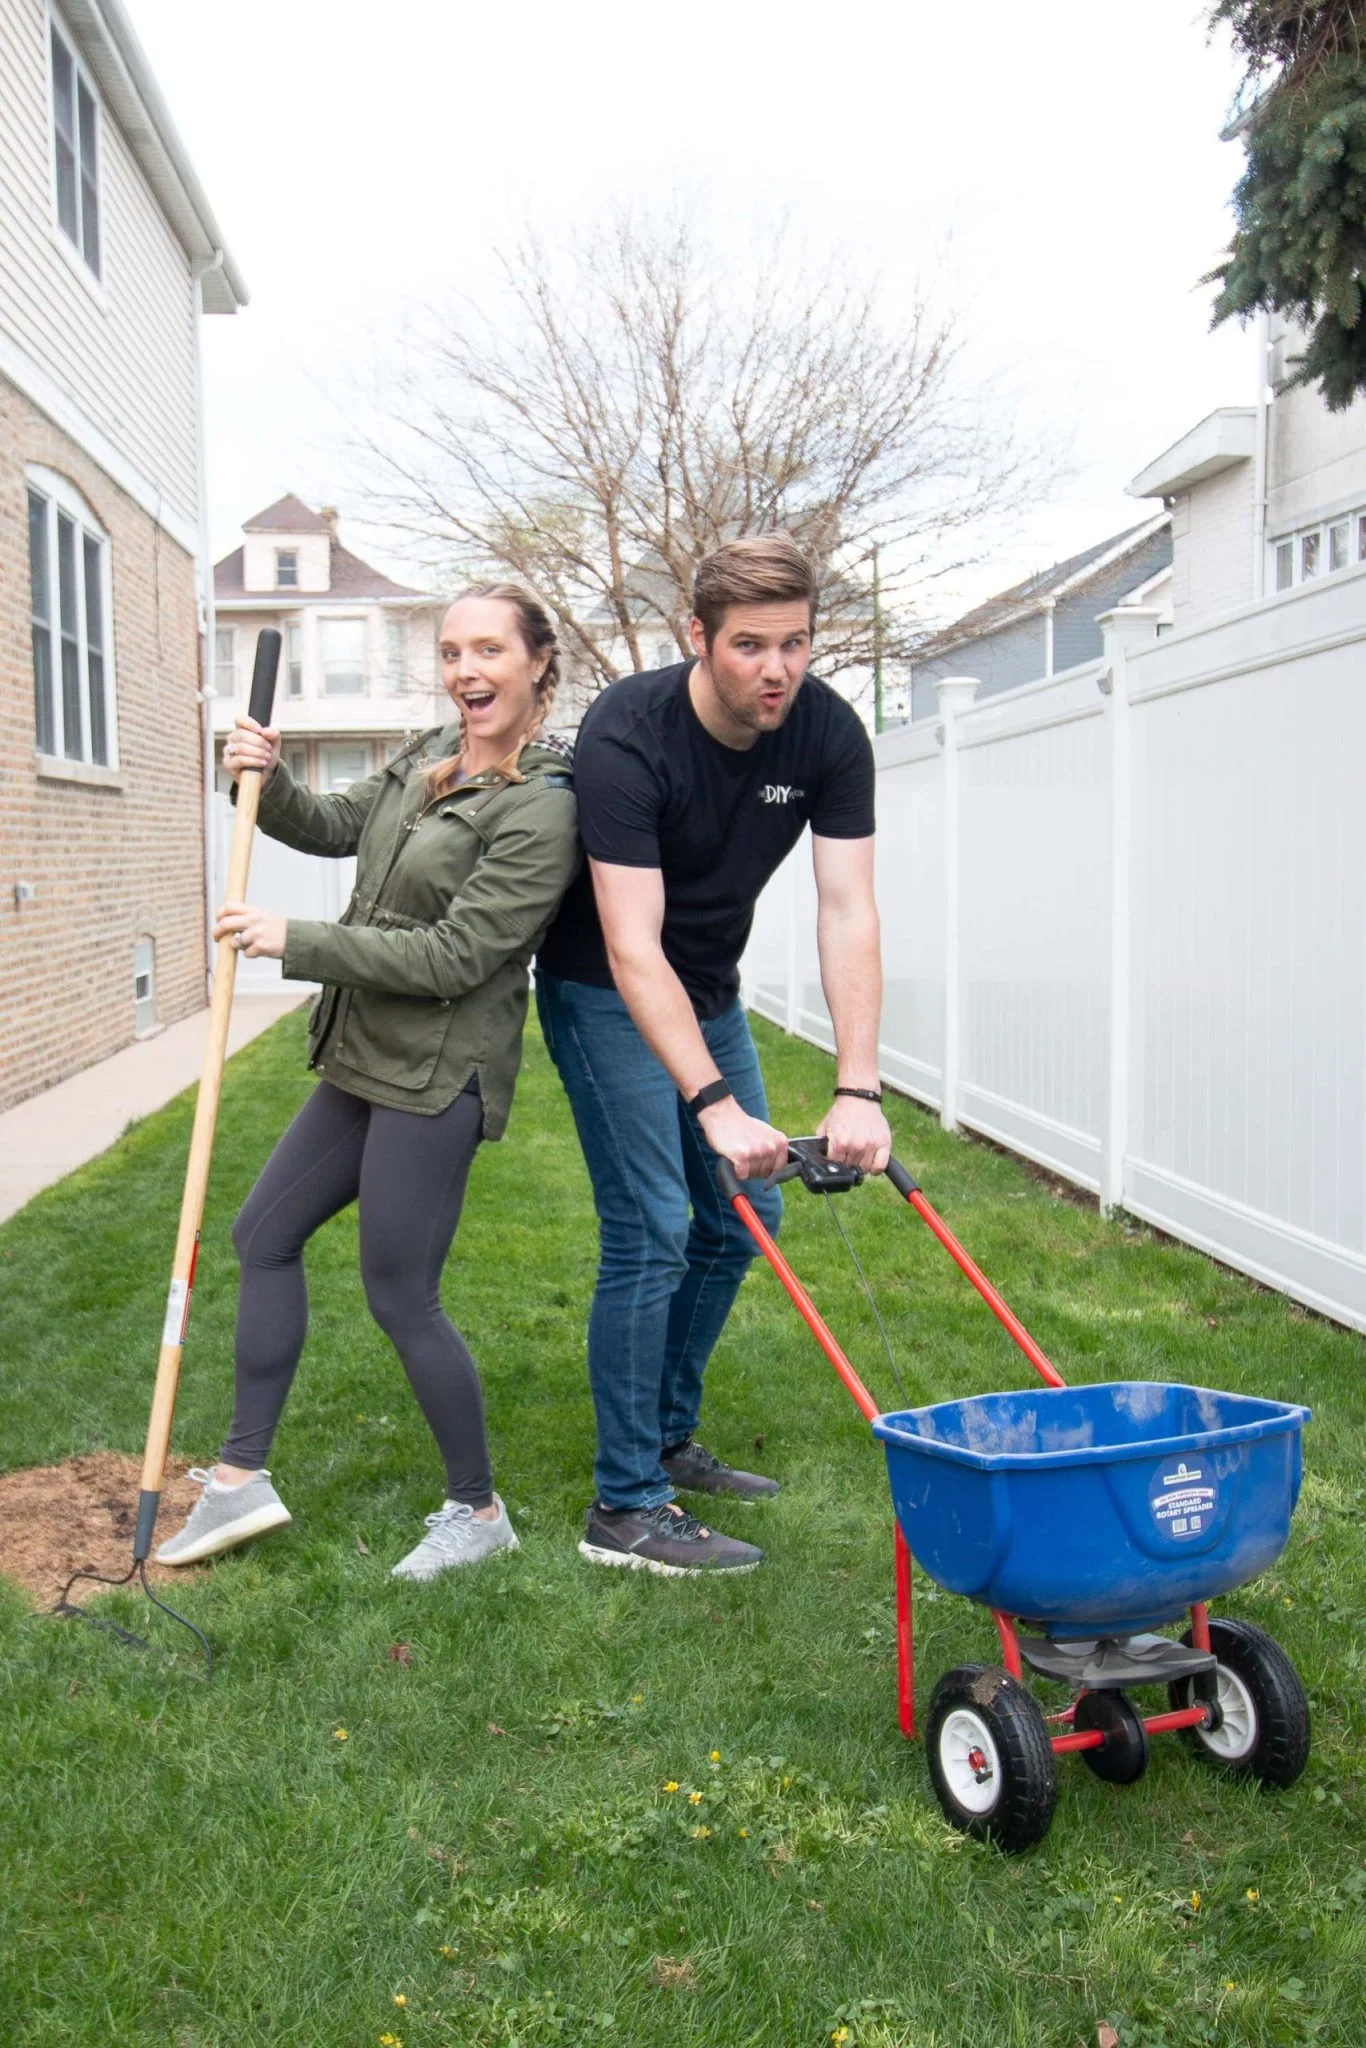
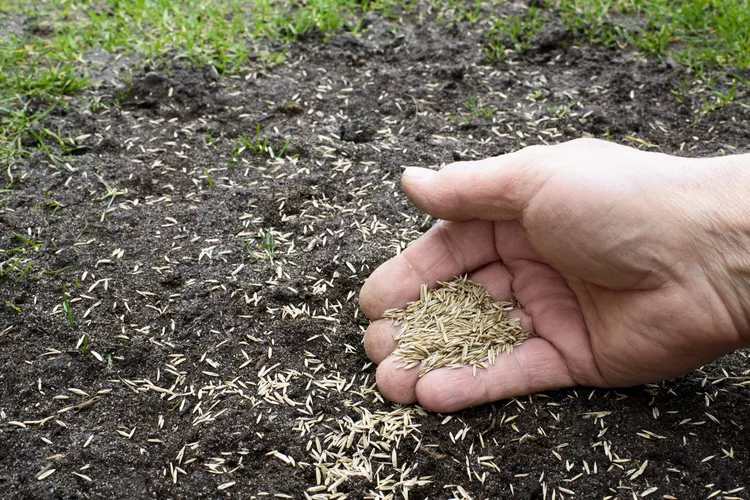
4. Reseed bare patches
——————————
For areas where the grass is confirmed dead, reseeding is the most cost-effective recovery method. Begin by removing all dead material from the affected area — rake out dead roots, thatch, and debris down to the soil surface.
If the soil is compacted, break it up to a depth of at least three to four inches with a fork or rotary tiller. Incorporate compost or a quality topsoil mix to improve the growing medium before sowing.
Sow at the recommended rate for the grass species selected — typically four to eight grams per square metre for most cool-season species, though this varies by cultivar. Rake the seed lightly into the surface and firm gently.
Water consistently, keeping the top inch of soil moist but not saturated until germination is established, then transition to deeper, less frequent irrigation to encourage root development.
Denser grass suppresses weed germination more effectively than sparse coverage, so do not undersow. Limit foot and pet traffic on reseeded areas until the new grass reaches a mowing height of at least three inches.
[Important] Deep roots are desirable, not a hazard. Overwatered lawns develop shallow root systems because roots follow moisture — if water is always at the surface, roots have no reason to extend downward.This shallow root development increases vulnerability to drought and heat stress, not the other way around. Water deeply and infrequently to encourage roots to develop depth.
5. Fertilise strategically
——————————
Fertiliser supports recovery by replenishing nutrients that drought, disease, or leaching have depleted from the root zone.
It should be applied once the grass is actively growing — not to dormant, stressed, or newly sown grass, as the plant cannot utilise the nutrients effectively and the concentrated minerals can cause additional burn.
For recovering lawns, a balanced slow-release fertiliser is preferable to fast-release formulations. Slow-release nitrogen delivers nutrients progressively over six to twelve weeks, reducing the risk of flush growth and burn while providing consistent support to the recovering root system.
Liquid seaweed extract is a useful complement to conventional fertiliser — it supplies trace minerals, plant growth hormones (cytokinins), and organic acids that support root development — but it does not provide sufficient nitrogen or phosphorus to function as a standalone fertiliser for recovery purposes.
6. Return grass clippings to the lawn
——————————
Grass clippings returned to the lawn surface after mowing decompose within one to two weeks and release their stored nitrogen, phosphorus, and potassium back into the soil.
This practice — known as mulch-mowing or grasscycling — can supply the equivalent of one additional fertiliser application per season and progressively improves soil organic matter content over successive seasons.
Clipping return is only beneficial when the lawn is mowed at the correct interval — removing no more than one-third of the blade height per cut.
Clippings from an overgrown lawn mowed too aggressively are too long and coarse to decompose quickly, and will mat on the surface, adding to thatch and creating conditions that favour disease.
[From experience] I converted to full-time mulch-mowing on all my residential contracts about ten years ago and reduced fertiliser applications by roughly 25% across those properties with no measurable decline in turf quality.The soil organic matter improvement compounds over time — lawns I have been mulch-mowing for five or more years have noticeably better structure, drainage, and drought tolerance than comparable properties that bag their clippings. The change costs nothing and requires no additional effort.
7. Aerate compacted soil
——————————
Grass requires adequate oxygen at the root zone as well as water and nutrients. In compacted soil — common on high-traffic areas, clay-heavy sites, and lawns that have been in use for several years without aeration — the pore space needed for oxygen exchange is compressed, restricting root development and water infiltration simultaneously.
Core aeration — the mechanical removal of small plugs of soil across the lawn surface — is the most effective solution.
It directly opens channels into the soil profile, improving oxygen exchange, water penetration, and the movement of nutrients to the root zone. On small areas, a manual hollow-tine fork achieves the same result more slowly.
Aerate cool-season lawns in early-to-mid autumn; warm-season lawns in late spring, once they are actively growing.
Following aeration, topdress with a sand-compost blend brushed into the holes to prevent them from collapsing and to provide an improved growing medium for root expansion.
[From experience] Aerator sandals — the spike-soled shoe attachments sold for home use — do not provide meaningful compaction relief.The solid tines push soil sideways rather than extracting it, which can marginally increase localised compaction around each spike. I mention this because I see them recommended frequently as a convenient alternative to proper equipment.
For a small lawn, a manual hollow-tine fork takes more time but actually works. For anything larger, hiring a core aerator for half a day is the only approach that produces a real result.
What if the grass won’t come back? Full lawn renovation
========================================
If a significant portion of the lawn has not responded to the recovery methods above, or if the underlying cause — severe soil degradation, persistent drainage failure, irreparable compaction — cannot be corrected through the surface, full lawn renovation is the appropriate course of action.
Step 1: Remove the existing lawn
——————————
Two methods are used to clear existing dead or declining turf:
• Solarisation: Cover the entire area with clear polythene sheeting weighted or pegged at the edges. Over four to six weeks in warm, sunny conditions, the heat trapped beneath the plastic kills the existing grass, roots, weed seeds, and many soil pathogens to a depth of several inches.
This is a slow but chemical-free approach that also improves soil temperature for subsequent seeding.
• Non-selective herbicide: A glyphosate-based product applied to actively growing turf kills both the above-ground growth and the root system within one to two weeks.
This is faster than solarisation but requires careful application to avoid off-target damage and must be used strictly according to label instructions and local regulatory requirements. Allow a minimum two-week wait after application before cultivating the soil.
[Important] Non-selective herbicides are appropriate only for full renovation where the entire lawn is being cleared. Do not use them for spot treatment of weeds in a recovering lawn, as they will kill grass alongside the target weeds.
Step 2: Prepare the soil
——————————
After clearing, aerate or rotary-till the surface to a depth of four to six inches to break up compaction and incorporate organic matter.
Apply and rake in two to three inches of quality compost across the entire area. Level the surface carefully, eliminating low spots where water can pool, and allow to settle for several days before seeding.
Step 3: Seed or sod
——————————
Seeding is the more economical option and allows species and cultivar selection suited to the specific site conditions. Sow at the recommended rate for the species selected, rake in lightly, and firm the surface.
Water two to three times daily in short sessions for the first two to three weeks to keep the germination zone — the top half-inch of soil — consistently moist. As seedlings establish, transition to longer, less frequent irrigation to develop root depth.
Begin mowing when the grass reaches three inches; remove no more than one inch per cut initially.
Sod (turf rolls) provides immediate coverage and is appropriate where rapid establishment is needed or where erosion on slopes makes seeding impractical. Lay rolls in staggered, brick-pattern joints on moist, prepared soil, pressing edges firmly together with no gaps.
Water deeply immediately after laying and maintain consistent moisture for the first two to three weeks. Avoid walking on new sod during this establishment period.
When new shoots reach approximately one inch in height, apply a slow-release starter fertiliser with a phosphorus-forward formulation — for example 10-20-10 — to support root development without forcing excessive top growth in the early establishment phase.
[From experience] The most common renovation failure I see is inadequate soil preparation before seeding. The surface is cleared and seed is applied directly to compacted, nutrient-depleted ground — and then people are puzzled when germination is thin and uneven.The prep work is 80% of the result. I spend as much time on soil cultivation, levelling, and compost incorporation as on the seeding itself. A well-prepared seedbed on average soil outperforms a poorly prepared seedbed on premium topsoil every time.
Summary
========================================
• Diagnose before treating: confirm dead vs. dormant using the tug test, pattern assessment, and watering test before committing to any recovery work.
• Address the cause, not just the symptom: water correctly, remove thatch, aerate compacted soil, and treat identified pests or diseases specifically.
• Reseed confirmed-dead areas after full removal of dead material and soil preparation — do not sow into existing debris or compacted ground.
• Fertilise only once the grass is actively growing, using a slow-release balanced formula. Do not apply to newly sown seed or dormant turf.
• Return clippings to the lawn to progressively improve soil organic matter and reduce fertiliser dependency.
• For full renovation: clear thoroughly, prepare the soil properly, and seed or sod with species appropriate to the site’s light, drainage, and traffic conditions.
This article was written by Duncan a practising turf care specialist with over 17 years of hands-on experience managing residential and light-commercial lawn environments across temperate and continental climate zones. Recommendations reflect field-tested practice and current guidance from university cooperative extension programmes in agronomy and turfgrass science.
Related Posts: