
17 Cheap DIY Garden Trellis Ideas: Under $30 Trellises You Should Try Out
Last Updated on June 16, 2026 by Duncan
You don’t need to spend $80 on a trellis that looks like it came from a spa catalogue.
I’ve grown more food on a $12 rebar-and-wire setup than I ever did on the fancy powder-coated thing I bought my first year gardening. That one lasted one season. The rebar is still going.
The truth is, most DIY trellis guides online will send you straight to the garden center for bamboo poles and jute twine, which is exactly the combination most likely to fail on you in July when your plants are fully loaded and a storm rolls through.
Been there. It’s not fun.
This list covers 17 trellises you can actually build for under $30, some for under $10, using materials from the hardware store, the farm supply aisle, or your own backyard.
Every single one has been stress-tested by real plants in real weather.
I’ll tell you what works, what quietly fails on you, and which ones are still standing years later.
Let’s get into it.
Before You Buy Anything: The Rule That Changes Everything
Most people buy a trellis and then figure out what to grow on it. That’s backwards. The plant decides the trellis, not the other way around.
A tomato plant in full fruit on a windy afternoon is not a gentle passenger.
It’s a dynamic, oscillating, unpredictable load machine that will find every weak joint you have.
Pick your trellis based on what you’re growing, and your whole summer changes.
And here’s the thing about “cheap.”
Cheap calculated once at the register is a trap. Cheap calculated per season over five years? That’s where the real savings live.
1. The Rebar and Twine Grid (The Workhorse)
Cost: $8 to $12

Go to the hardware store. Not the garden center. The hardware store.
Buy two or three pieces of rebar, some galvanized wire, and a roll of paracord.
Pound the rebar in at least 18 inches deep if you’ve got sandy raised bed soil.
I learned this the hard way after a perfectly dry summer morning turned into a thunderstorm and my “sturdy” trellis pivoted out of the ground like a slow-motion disaster.
Run your horizontal rows of paracord every 6 inches. Not jute. Not natural twine. Paracord.
Jute stretches when wet and contracts when dry, and by August every knot you tied in May will have loosened itself into uselessness.
This trellis lasts a decade if you pull it at the end of the season and store it dry.
2. Concrete Reinforcement Mesh Panel (The Professional Secret)
Cost: Around $15 to $20

This is the one professionals don’t talk about because it sounds boring. Concrete reinforcement mesh, also called remesh or wire mesh panel, comes in sheets and has a built-in 6-inch by 6-inch grid.
That’s nearly perfect for cucumbers and tomatoes.
You roll it into a cylinder for a tomato cage that won’t collapse when your Cherokee Purple hits 5 feet.
Or you use it flat between two rebar stakes for a wall trellis.
The grid opening matters more than many people think. Cucumbers have a tendril reach of about 3 to 5 inches.
That means a 6-inch grid is right at the edge of what they can grab without spending all of their energy searching.
Close enough for contact, open enough for airflow.
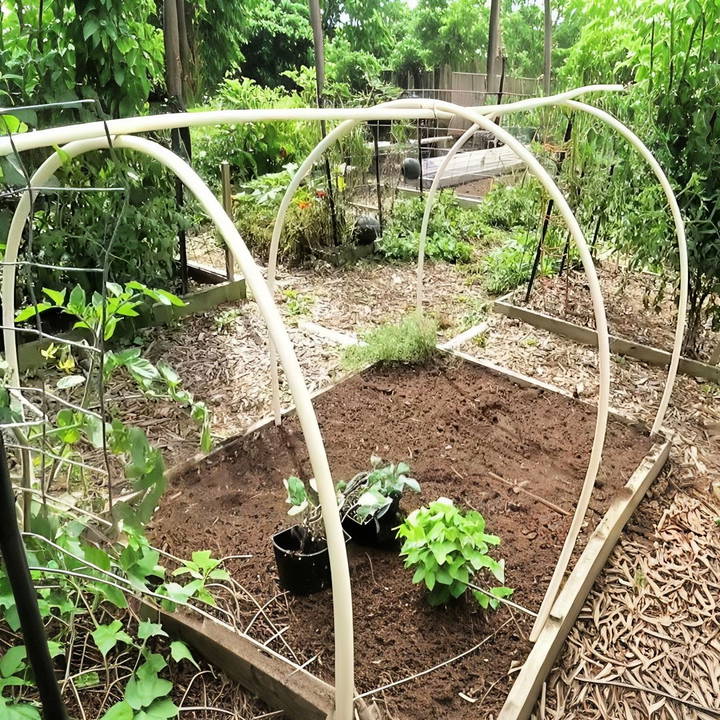
3. The Cattle Panel Arch (The One Everyone Notices)
Cost: Around $25 to $28
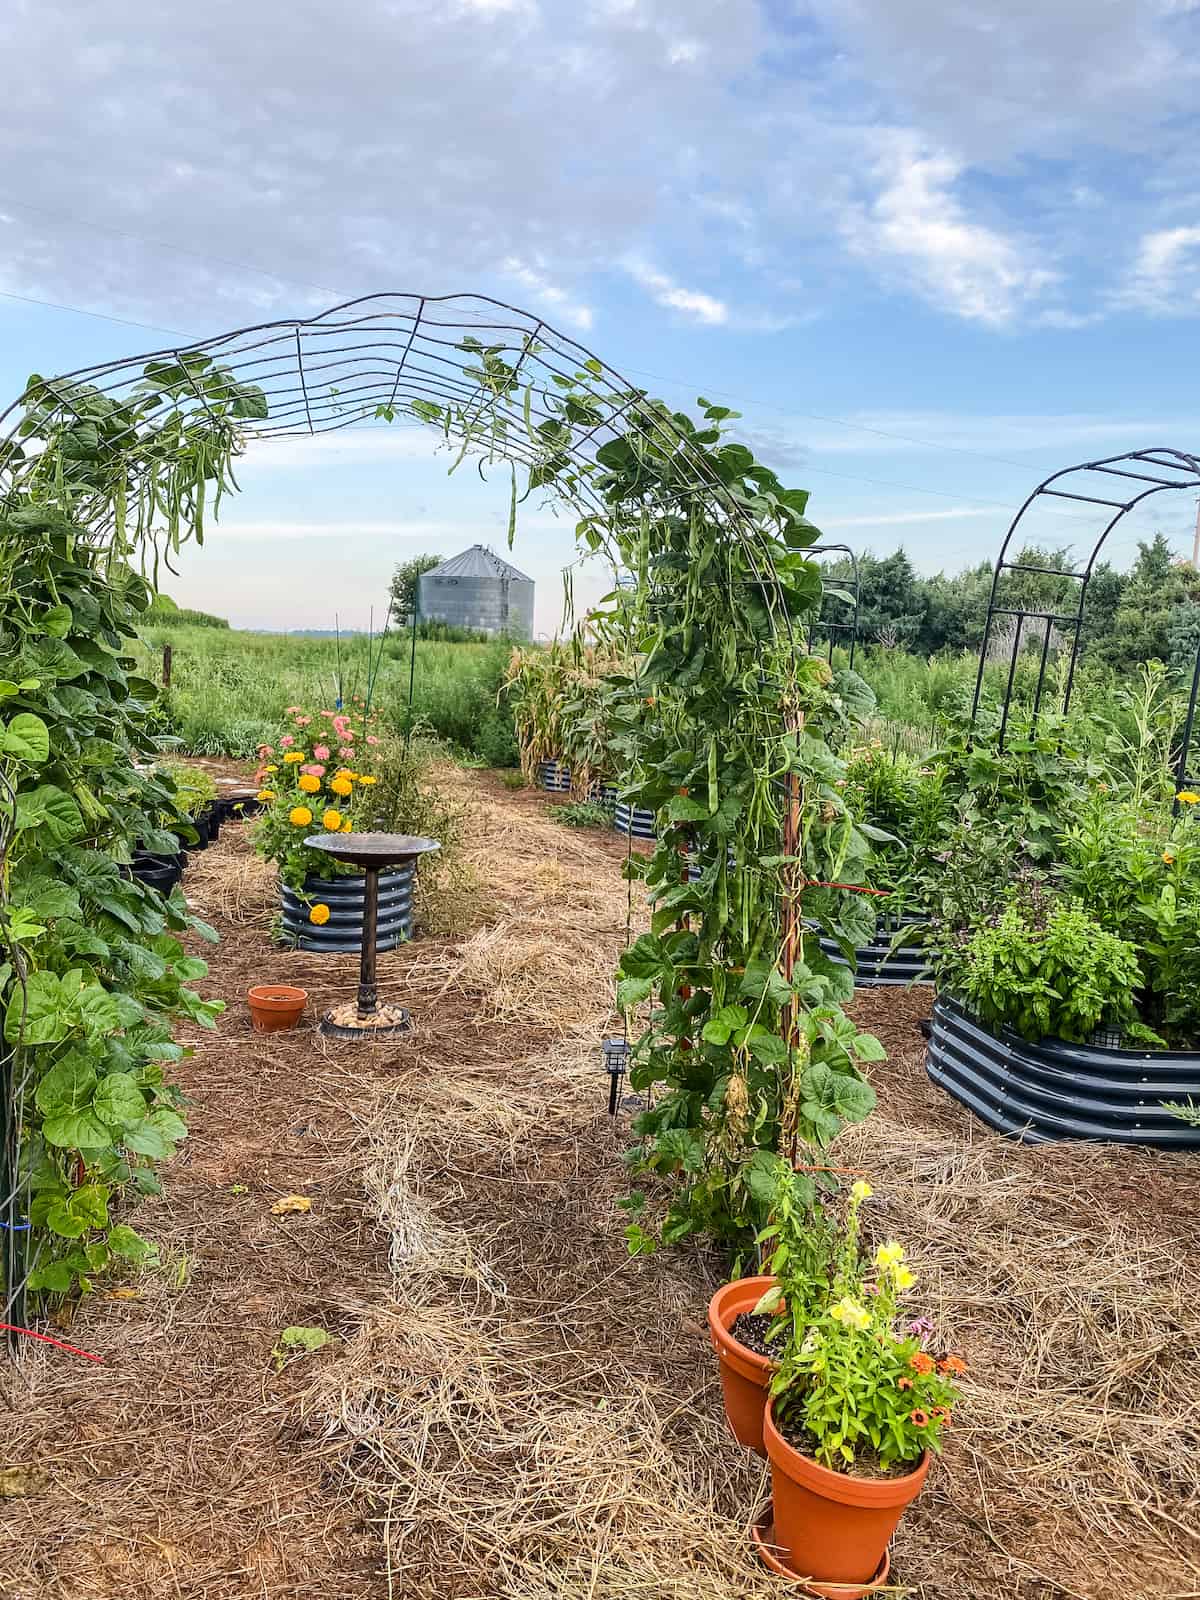
Okay, this one costs a little more, but hear me out. A cattle panel is a 16-foot rigid wire panel sold at farm supply stores.
You bend it into an arch between two raised beds and suddenly you have a tunnel that makes your whole garden look like something out of a magazine.
Squash, cucumbers, melons, beans. Everything climbing loves this arch. And because the panel is rigid galvanized steel, it doesn’t flex under load the way bamboo or PVC does.
I’ve had mine for six years. Six. Years. Same panel.
4. EMT Conduit and Wire Grid (The Set-It-and-Forget-It Build)
Cost: Around $18 to $22

Electrical metallic tubing from the electrical aisle. Half-inch diameter.
Two 10-foot sections cost maybe $8. Bend it with a conduit bender or just buy the pre-bent elbow fittings.
The reason I love this over PVC? PVC expands in heat.
On a hot summer day a 6-foot section expands nearly three quarters of an inch.
When you’ve rigidly glued your joints, that expansion has nowhere to go except buckle your frame from the inside.
EMT doesn’t do that.
Run galvanized wire across the frame, tension it with small eye screws, and you have a trellis that will genuinely outlast your raised beds.
5. The A-Frame Scrap Wood Trellis
Cost: $0 to $10 depending on what you have
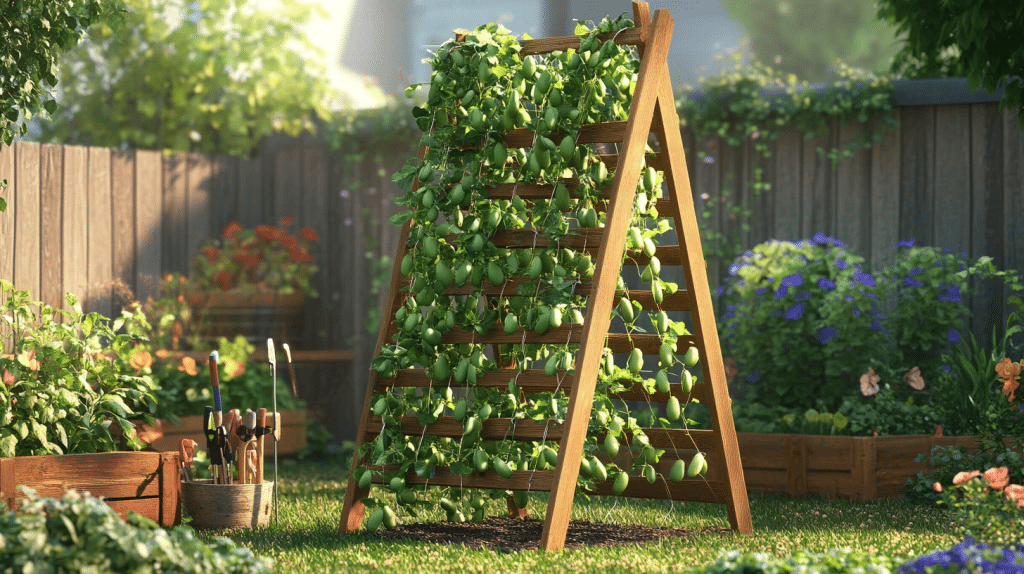
If you’ve ever done any home renovation, you almost certainly have scrap 1×2 or 1×3 lumber sitting around doing nothing.
That lumber wants to become an A-frame trellis. Let it.
Two side frames, a ridge piece at the top, and horizontal rungs spaced every 8 inches. Hinge the feet so it folds flat for storage.
Here’s the thing nobody mentions: the optimal angle for an A-frame isn’t 45 degrees. It’s closer to 65 to 70 degrees from the ground.
At 45 degrees, plant weight pulls perpendicular to the surface and creates more structural stress.
At 67 degrees, gravity actually helps the plant stay attached rather than pulling it away.
Just don’t use untreated pine below the soil line.
By the time you see rot on the outside, the structural core is already gone.
6. Bamboo Teepee with a Twist
Cost: $4 to $8

Everyone does the bamboo teepee. It’s fine. It works.
But there’s one thing that makes the difference between a teepee that survives July and one that collapses under a full pole bean load.
Stop tying the top with a single knot. Wrap it.
Go around the bundle at least 8 times before tying off, crossing at 45 degrees between each wrap.
This is called saddle-wrapping, and it distributes the load across multiple contact points instead of concentrating it on one millimeter of twine.
Also: If your bamboo has been stored dry for over a year, soak the top 12 inches in water before tying.
Dry bamboo splits longitudinally under tension. Wet bamboo doesn’t.
7. Pallet Wood Fan Trellis
Cost: $0 to $6
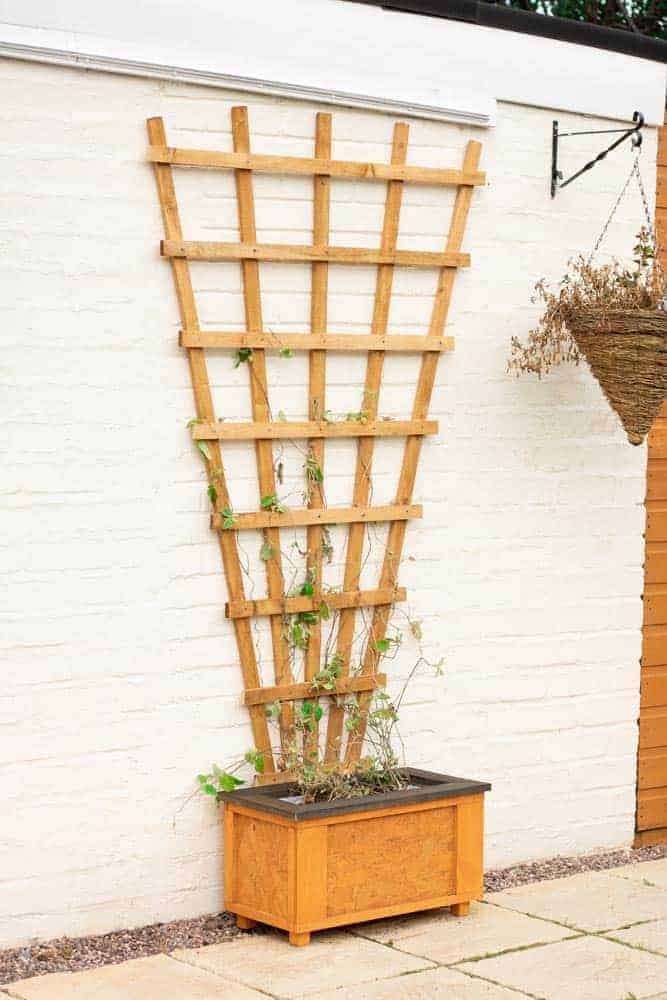
Free wooden pallets are everywhere. Construction sites, behind grocery stores, loading docks.
Pick one that has no chemical treatment markings (look for HT stamped on the pallet, which means heat treated only, and avoid MB which means methyl bromide treated).
Disassemble it, take the slats, and build a fan shape by screwing them into a single bottom piece with even spacing at the top.
Anchor it against a wall or fence.
The fan trellis is perfect for climbing roses, clematis, and anything that does well with wide lateral spacing.
These plants need room for their canes to move. A tight grid suffocates them.
8. Chicken Wire on a Cedar Frame
Cost: $10 to $16

Cedar is the correct wood for outdoor trellises. Full stop. Not pine, not poplar, not whatever mystery wood they sell as “garden stakes.”
Cedar has natural oils that resist rot and insects, and it doesn’t need any treatment to hold up for years.
Build a simple rectangular frame from cedar 1x2s, staple chicken wire across it, and you’re done. Seriously.
One thing to check every spring: Tap the wire with your fingernail. A clear ring means the galvanization is holding.
A dull thud means corrosion has set in at the wire junctions and you’ve lost most of the tensile strength.
The wire looks fine from the outside while secretly being nearly useless. Replace it.
9. The Cattle Panel Flat Wall Trellis
Cost: Around $20 to $25
Same cattle panel as the arch, but used flat.
Cut it to the size you need with bolt cutters, wire it to two fence posts or wall-mounted brackets, and you have an instant, rigid, beautiful wall trellis that will handle anything you throw at it.
The grid spacing on cattle panels is typically 4 by 6 inches, which is ideal for most climbing vegetables.
Close enough for tendril contact, open enough to harvest without fighting the structure.
This one is particularly good against a south-facing wall or fence where you get reflected heat and want something that won’t warp or bow.
10. T-Post and Wire Fence Trellis
Cost: $12 to $18

Steel T-posts are sold at farm stores and cost about $4 each. They drive into the ground with a post driver in seconds and they will not move.
Not in wet soil, not in wind, not when your squash goes completely insane in August.
Run four or five horizontal lines of 14-gauge galvanized wire between two T-posts and you have a trellis that laughs at everything the season throws at it.
The key is the height of your top wire.
Most people stop at 5 feet.
Go to 6 feet for indeterminate tomatoes and you’ll thank yourself in September when the plants are still producing and haven’t run out of vertical room.
11. Branch and Twine Natural Trellis
Cost: $0 to $3

After any wind storm, go collect branches. Seriously. Forked branches, Y-shaped branches, anything with natural junctions.
Push the main stems into the ground, weave thinner branches horizontally between them, and tie with natural twine.
This approach sounds rustic and informal, but it’s actually structurally clever.
The natural forks create multiple load paths, which is exactly what you want. Force distributes through the structure instead of concentrating at your hand-tied knots.
It looks incredible too. Much better than a grid of green wire. Your neighbors will ask where you bought it.
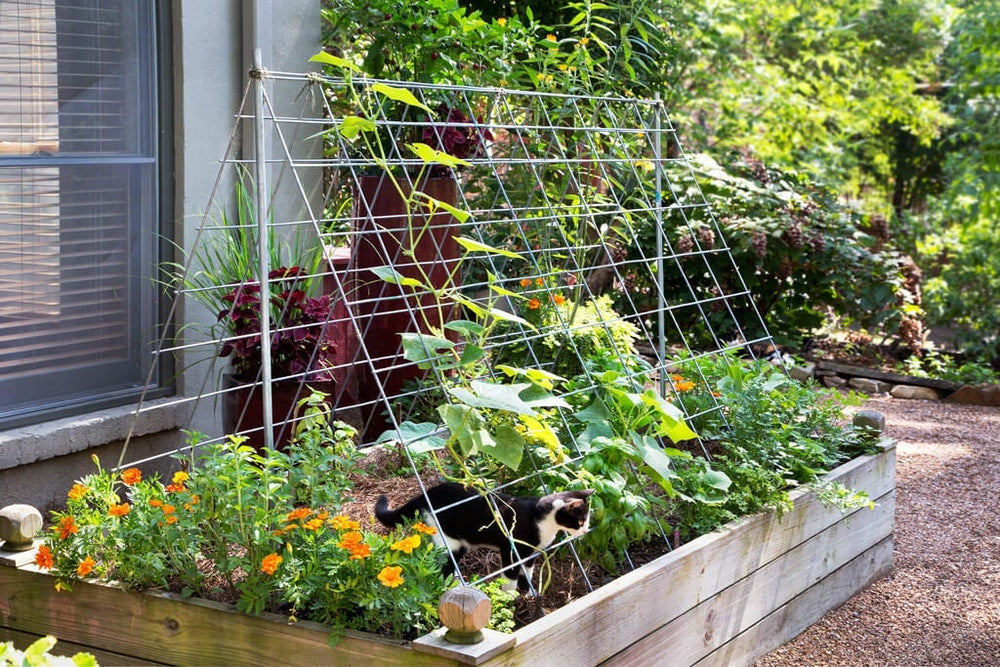
12. PVC Pipe Grid (Done Right This Time)
Cost: $8 to $14
PVC trellises get a bad reputation, and honestly, they’ve earned some of it.
But the problem isn’t the material. It’s the assembly method.
Never glue rigid PVC joints on a sun-exposed trellis.
Use slip-fit connections instead, and drill a small hole through the joint and pin it with a galvanized screw.
This allows the pipe to expand in summer heat without the frame buckling from the inside.
Also, use 3/4-inch pipe, not 1/2-inch. The extra diameter reduces flex dramatically, especially on spans over 4 feet.
13. The Ladder Trellis from Two Old Branches
Cost: $0

Find two straight branches roughly 6 feet long. Cut 10 to 12 short pieces about 12 to 18 inches long for rungs.
Drill pilot holes and screw the rungs between the two uprights at even 8-inch intervals.
This is a ladder. You are building a ladder. And it is a perfect trellis.
Lean it against a wall or fence at 67 degrees from the ground (remember that angle from earlier?) and plant your climbers at the base.
Beans, peas, and cucumbers absolutely love this setup.
The multiple rungs give them endless attachment points and the spacing allows good air circulation that prevents mildew.
14. Hog Panel Raised Bed Trellis
Cost: Around $22 to $28

Hog panels are like cattle panels but heavier gauge and with smaller grid openings at the bottom (which graduate to larger openings at the top).
That graduated opening is actually useful for gardens because it gives small seedlings close grip points early in the season.
Cut a section to fit across the end of a raised bed, wire it to the bed frame itself, and you’ve built a trellis that is structurally integrated into the bed.
It won’t tip, it won’t lean, and it doubles the growing surface of your raised bed without taking up any additional ground space.
15. Zip-Tied Bamboo Grid
Cost: $5 to $9

Sometimes you just need something fast. Here’s the fastest version of a bamboo grid trellis that actually holds up.
Buy a bundle of bamboo canes. Lay the verticals first at 12-inch spacing. Then lay the horizontals.
At every junction, use a UV-resistant zip tie pulled tight in two directions, not one.
Run one tie horizontally and one vertically at each junction, or use a cross-lock pattern.
The two-direction lock turns what is normally the weakest point of a bamboo trellis (the junction) into its strongest.
It sounds small.
It makes the structure roughly three times more resistant to racking and twist.
16. String Trellis Between Two Posts (The Vertical Garden Wall)
Cost: $6 to $10

Two posts. A top rail. Lines of jute or paracord running vertically from the top rail all the way down to stakes or ground screws.
That’s it.
This is my go-to for beans and peas because they spiral naturally around vertical lines and do better on verticals than horizontals.
Each cord becomes its own little plant highway.
Space the lines 6 inches apart and run them tight.
Loose lines are nearly useless because the plant wraps twice before finding support and loses energy in the process. Taut lines let the plant lock in and go straight up.
17. The Cedar Stake Obelisk
Cost: $12 to $18
:max_bytes(150000):strip_icc()/diy-trellises-for-your-garden-5187165-hero-4191e6c443554642a8166879f897d8a8.jpg)
Four cedar stakes, some wire, and a pair of pliers. You’re building an obelisk, which sounds fancy and is actually a tapered four-sided tower.
Set four cedar stakes in a 12-inch square at the base, leaning them inward so they meet (or nearly meet) at the top.
Wire horizontal rounds at 8-inch intervals going up.
The converging sides make this structure inherently rigid. It resists lateral force from any direction because the geometry itself is fighting the load.
Plant one climber at each base stake. By July you’ll have a living column of foliage that anchors itself and looks genuinely beautiful.
The One Principle That Ties All of This Together
Here’s what I want you to walk away with.
Every single trellis failure I’ve ever seen, every collapsed frame, every drooping vine, every disaster in late July, comes down to the same root cause.
The load had only one path to ground, and that path gave way.
Call it the Triangulated Tension Framework if you want to sound smart at a garden club.
What it means practically is this: before you walk away from any trellis you build, ask yourself what happens when the main vertical member gets pushed hard to one side.
If the answer is “it falls over,” add a diagonal brace or a guy wire. One diagonal. One ground stake.
That single addition converts your two-force structure into a triangle, and a triangle is the most stable shape in nature.
A $2 ground stake and 3 feet of wire will save any trellis you build on this list. Don’t skip it.
Your plants are counting on what you build in March to hold up in August when they’re heavy, wet, and loaded. Build it like it matters, because it does.
Pro tip to finish: Whatever you build, install it before you plant, not after. Driving stakes into established root systems is a great way to have a bad afternoon.