21 Indoor House Plants Aesthetic Hacks That Make Any Home Look Expensive
Last Updated on June 16, 2026 by Duncan
Let me be honest with you.
Most plant styling advice online is written by people who have clearly never lived in a real home with real lighting, a real budget, and real distractions.
They tell you to “group plants in odd numbers” and “add pops of greenery” like that’s an actual plan. It isn’t.
I’ve spent years getting this wrong, then slowly getting it right. Here’s everything I wish someone had told me from the start.
1. Stop Counting Plants. Start Thinking About Mass.
Every beginner article tells you to group plants in threes.
That rule sounds logical until you put three tiny succulents next to your sofa and wonder why the arrangement looks like it belongs on a windowsill at a primary school.
The real principle is visual mass, not plant count.
One large Monstera has four times the visual presence of three small pothos combined. What you’re actually trying to do is fill space with intention, not hit a number.
Think in proportions instead.
Your arrangement needs one dominant piece that takes up about 60% of the visual weight, one mid-size contrast plant at around 30%, and one small detail piece at 10%.
That’s it. Could be two plants total, could be five. The ratio is what matters.
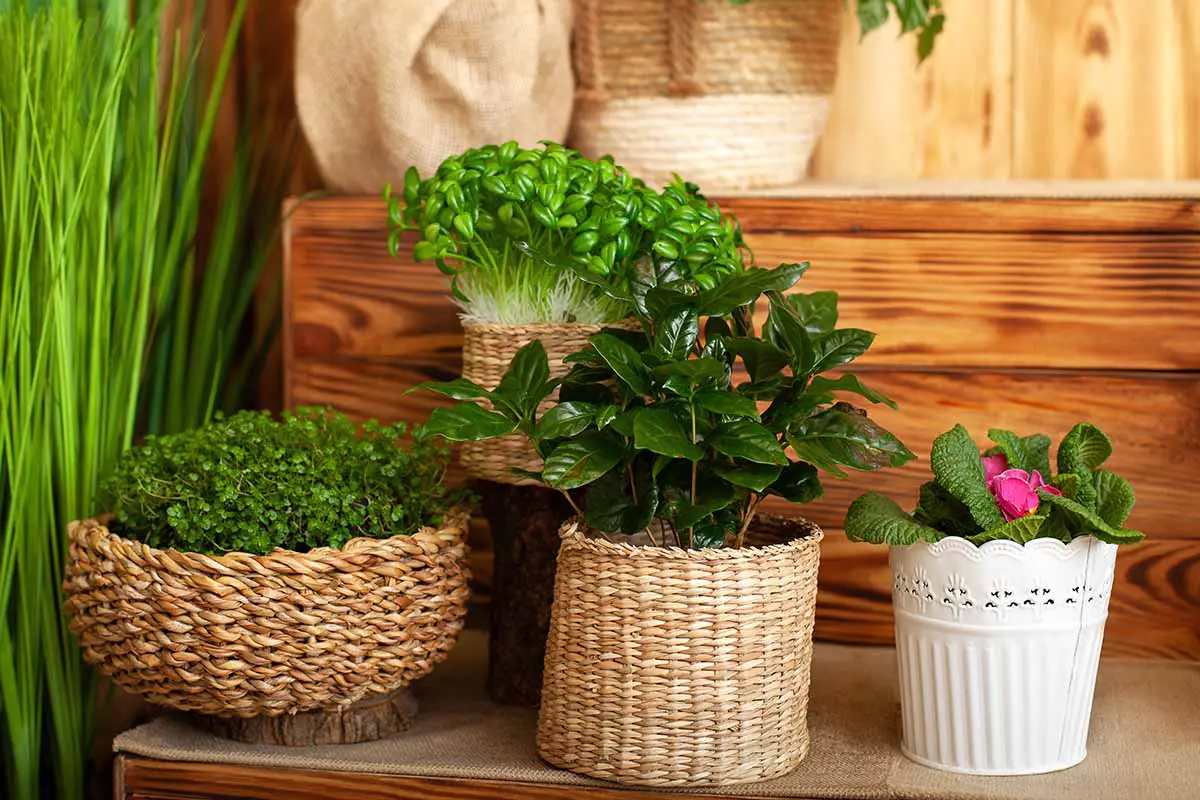
2. Replace the Nursery Pot Before You Do Anything Else

This is the single most impactful thing you can do, and it costs less than a cup of coffee.
The plastic nursery pot your plant came in is actively destroying the look of your entire arrangement, no matter how beautiful the plant itself is.
A gorgeous $40 Monstera in a black plastic pot looks like a plant that someone forgot to unpack.
The same plant in a $12 glazed ceramic cachepot from a homeware shop looks intentional, curated, and expensive.
You don’t even have to repot.
Just drop the nursery pot inside a slightly larger ceramic or wicker basket. Nobody needs to know. This is the oldest trick in the book and it works every single time.
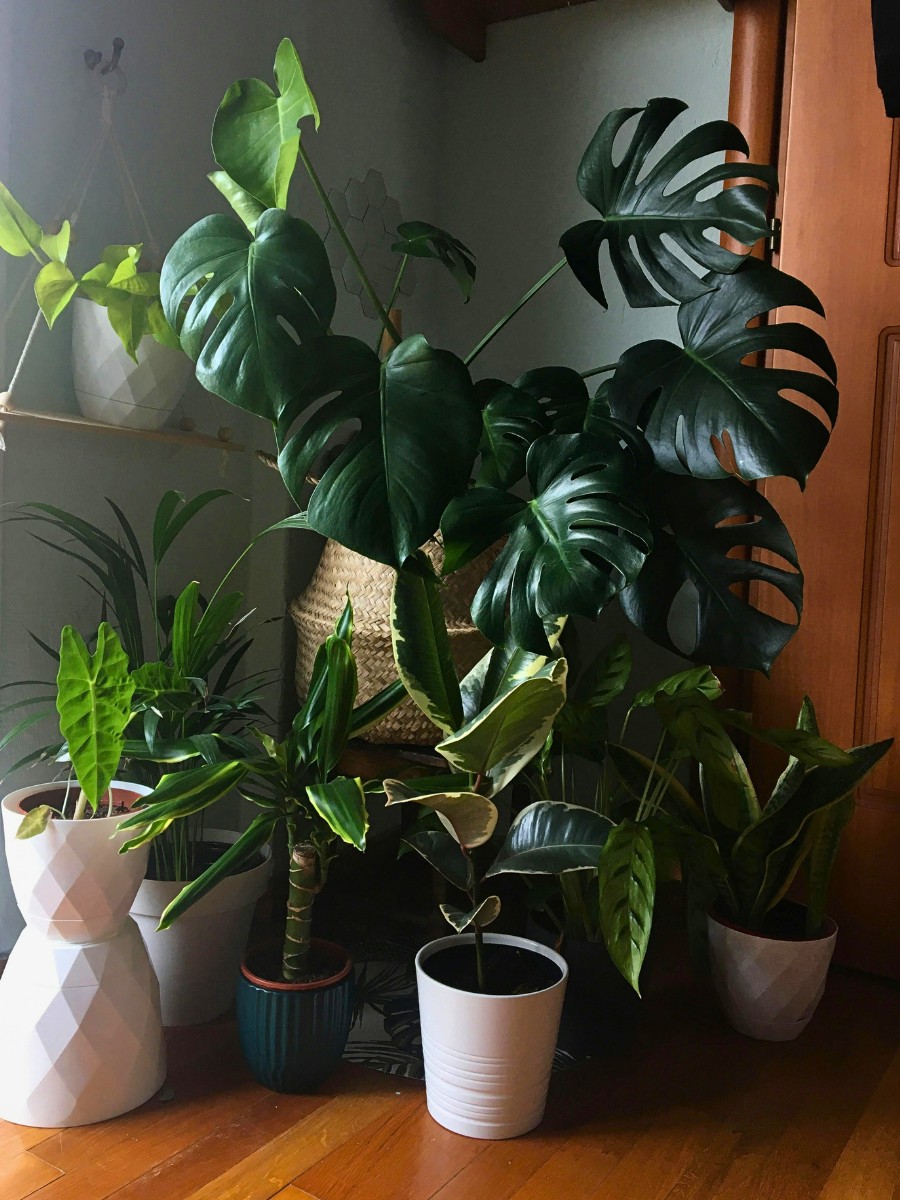
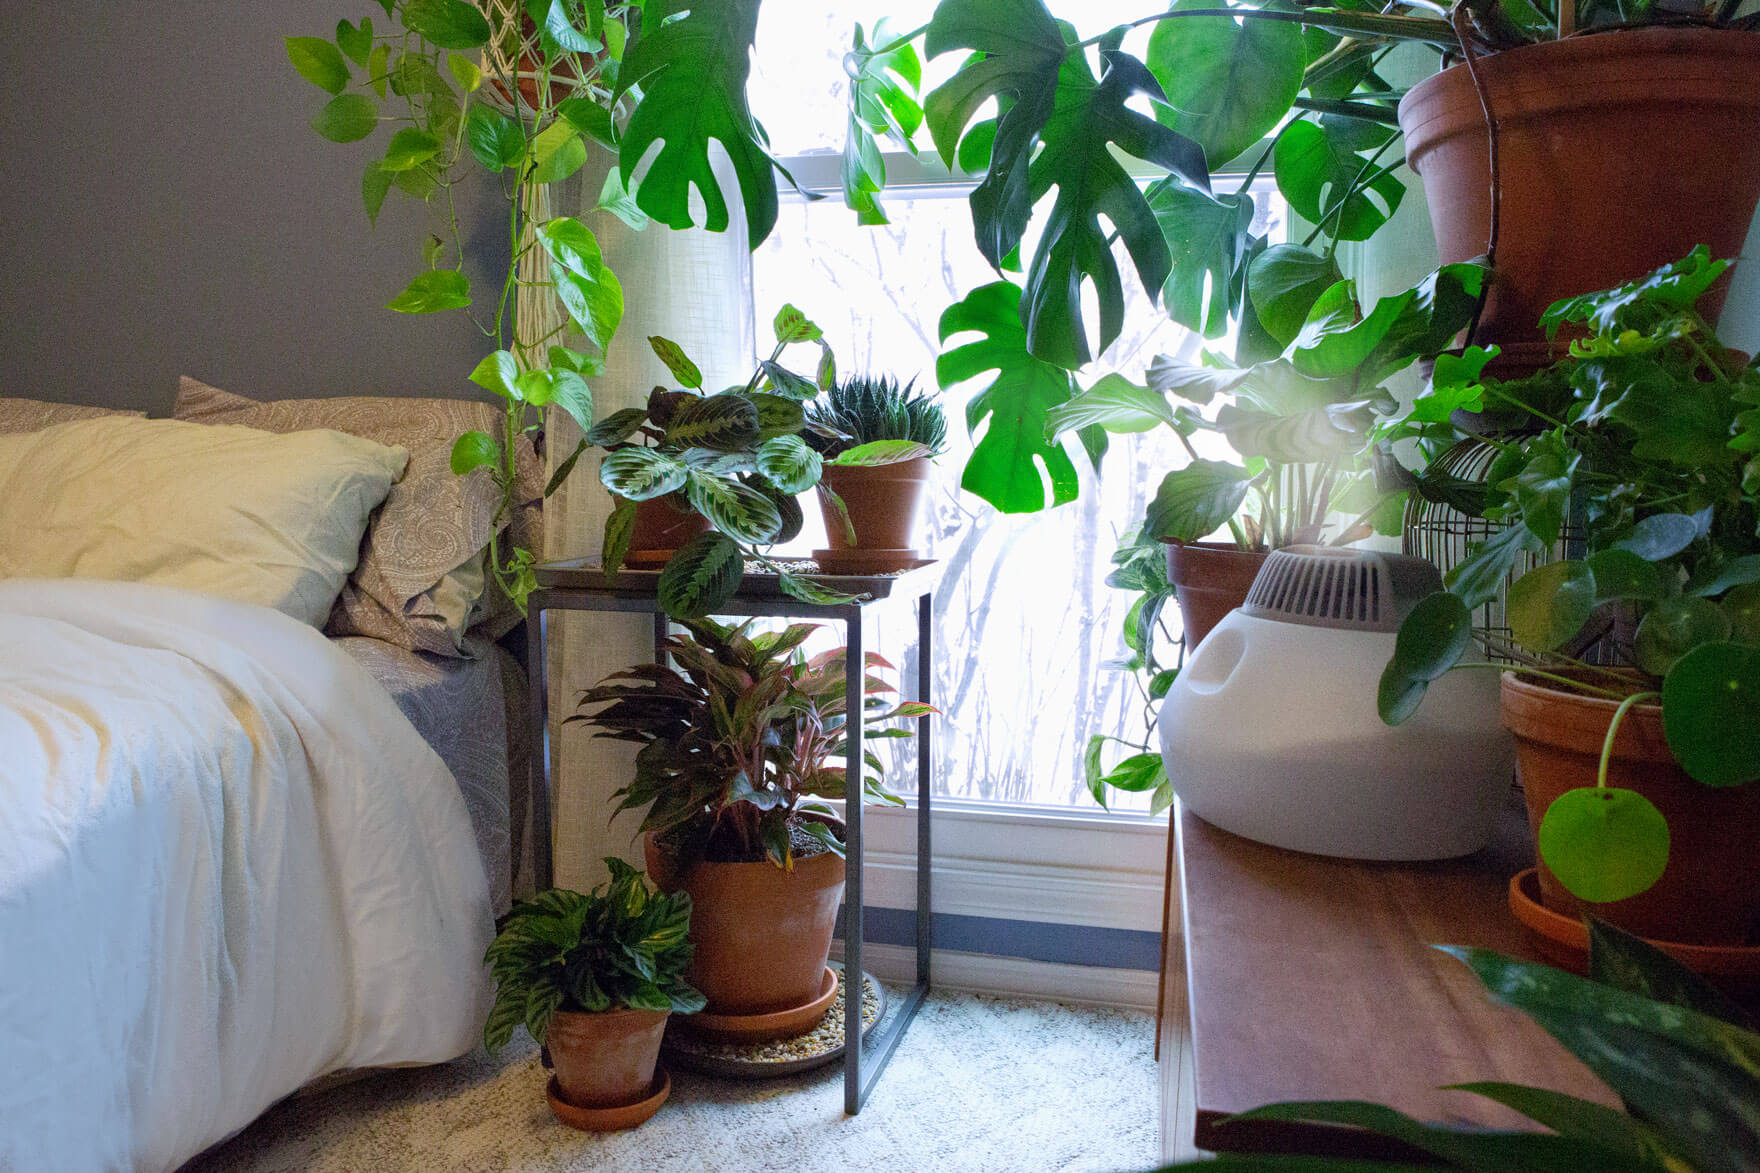
3. The Canopy Horizon Protocol: Fill Three Layers, Not One

Here’s the big secret that separates a “nice plant corner” from a space that makes people stop and say “wow, this room feels incredible.”
Most people only ever fill the middle zone of a room, roughly between knee height and eye level.
They put a couple of plants on a shelf, maybe one on a side table, and call it done.
The result always looks incomplete, even if the plants themselves are beautiful.
Professionals think in three vertical layers.
The ground layer is everything below 60cm, so think low trailing plants, large floor pots, and leafy anchors.
The mid-air layer is 60cm to about 160cm, your shelves, side tables, and plant stands.
The ceiling plane is anything above that, hanging plants, wall-mounted pots, or tall floor specimens that reach up into the space.
When all three layers are occupied, even with cheap plants, the room reads as lush, layered, and deliberately designed.
Miss even one layer and the whole thing feels flat.
This is why hotel lobbies with a $5 pothos hanging from the ceiling look more expensive than a home with a $200 statement plant sitting on the floor.
4. Add Glossy House Plants As They Do Most Of the Heavy Lifting
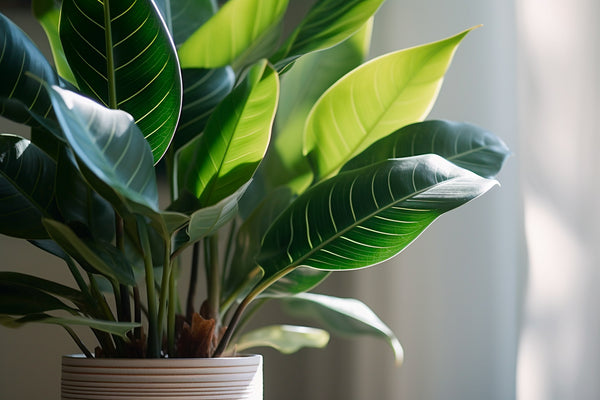
Not all green is created equal, and this one surprised me when I first figured it out.
Under interior lighting, glossy-leaved plants (Ficus, Pothos, Rubber Plants, Monstera, Peace Lilies) catch the light and reflect it back at you.
They read as vibrant, healthy, and alive even in dim conditions.
Matte-leaved plants, most succulents, most cacti, absorb light and can look flat or even dusty under the same conditions.
For a luxury-looking arrangement, aim for at least 60% glossy-leaf plants in any visible grouping.
You can absolutely include matte-leaf plants, but position them as supporting characters, not your lead performers.
I learned this after wondering for months why my succulent shelf always looked a bit lifeless. It wasn’t the plants. It was the physics.
5. Replace Your Lightbulb: It is Sabotaging Your Plants (and Your Photos)

This one is so overlooked it borders on criminal.
You could have the most beautiful plant arrangement in the world and it will look sickly and yellow if your bulbs are the wrong color temperature.
Warm bulbs at 2700K, the soft yellow ones that are in about 80% of living room lamps, make green foliage look golden and slightly sad.
Cool white bulbs at 5000K and above make everything feel clinical and washed out.
The sweet spot is 3500K to 4000K.
Warm enough to feel like a home, cool enough to make your greens look deep, rich, and properly alive.
Swap one bulb near your main plant arrangement and you’ll see the difference in about ten seconds.
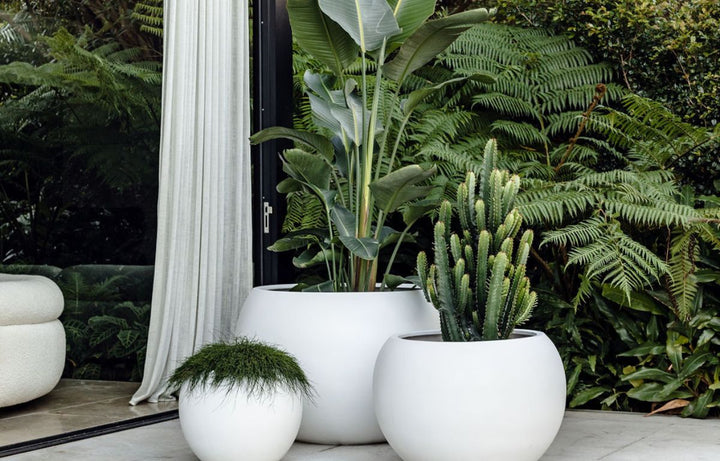
6. Never Put a Statement Plant in a Corner
I know. The corner seems like the perfect spot.
It fills dead space, it’s out of the way, it frames the room. I’ve done this. You’ve done this. We were both wrong.
Corners are typically the darkest spots in any room, because light travels from windows inward and loses intensity fast.
Most large statement plants, fiddle-leaf figs, birds of paradise, olive trees, are greenhouse-grown in intense light.
Put them in your dim corner and they’ll drop leaves within weeks.
Place statement plants within four feet of your brightest window.
If your room’s layout makes that impossible, invest in a grow light before you invest in a plant. The light is always the non-negotiable.
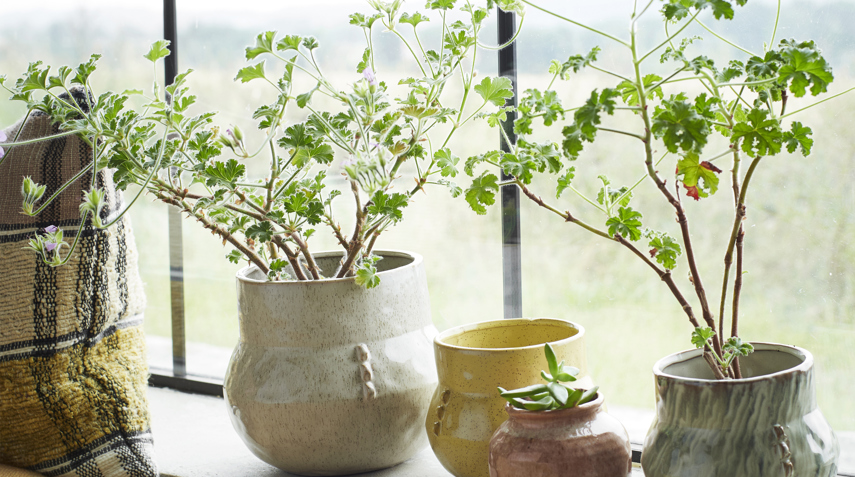
7. Use Terracotta Only If You’re an Attentive Waterer

Terracotta is everywhere on plant styling accounts.
It photographs beautifully, it has a warm organic feel, and it genuinely is good for plants in the right conditions.
But here’s the part most people skip over: terracotta breathes, which means it wicks moisture out of the soil dramatically faster than glazed ceramic or plastic.
In a dry indoor environment, which most homes are, terracotta pots need watering almost twice as often as glazed alternatives.
If you’re the type of person who waters on a casual “when I remember” schedule (genuinely no judgment), terracotta will turn your plants into chronic underwatering victims.
Their leaves will curl at the edges and you’ll spend months convinced it’s a disease.
If you love the look, use terracotta for drought-tolerant plants like snake plants or succulents.
For anything tropical and moisture-loving, glazed ceramic keeps the roots happier with far less effort from you.
8. Remove That Shelf That Looks Like a Shop

You know the look.
A row of equally sized plants in identical white pots lined up on a shelf like they’re waiting to be purchased.
It’s tidy, it’s balanced, and it looks completely soulless.
The problem is flat horizon lines.
When every plant sits at the same height, your eye travels across them in one quick sweep and moves on.
There’s nothing to linger on.
The fix is stupidly simple: introduce at least three different heights within the same shelf, with a minimum of 6cm between each tier.
Use stacked books as hidden risers, an upturned pot hidden behind another plant, a small wooden crate.
Vary your pot materials too. One terracotta, one ceramic, one wicker basket.
Suddenly the same three plants look intentionally in place, rather than arranged by someone who just got home from the garden center.
9. Pay Attention To The Golden Eye Line for Floor Plants
:max_bytes(150000):strip_icc():format(webp)/beautiful-potted-boston-ferns-or-green-lady-houseplant-on-floor-by-brick-wall-in-living-room-1359561042-e5a7f0c464204d85b8e1964ed0d7c670.jpg)
If you have a large floor plant, here’s the measurement that makes all the difference.
In a room with standard 2.4 meter ceilings, the top of your tallest floor plant should sit between 1.6 and 1.8 meters.
This leaves a comfortable breathing zone between the plant and the ceiling.
Go below 1.5 meters and your tall plant looks stumpy. Push past 1.9 meters in a standard room and it starts to feel crowded, like the plant is pressing against the ceiling.
That 1.6 to 1.8 meter sweet spot is where plants look commanding rather than cramped.
If your plant isn’t naturally that height, use a plant stand to lift it.
A $15 rattan plant stand can add 30cm of presence and changes the entire energy of the arrangement.
10. Don’t Put Plants Too Close to the Window Glass

This one trips up a lot of people because it seems counterintuitive.
More light is better, right?
Single-pane windows create a radiant heat pocket right next to the glass, especially in summer.
Plants placed within 45cm of direct sun through single-pane glass will often develop brown, crispy patches on the side facing the window.
And this is not because of sun damage in the traditional sense, but from the concentrated heat coming off the glass itself.
The safe zone is at least 60cm back from single-pane windows in direct sun exposure.
If you want something right on the windowsill, stick to drought-tolerant, heat-resistant plants like snake plants, ZZ plants, or cacti.
Their waxy or succulent leaves can handle the radiant load. Your Maidenhair fern absolutely cannot.
11. Hang Something. Anything. Just Do It.
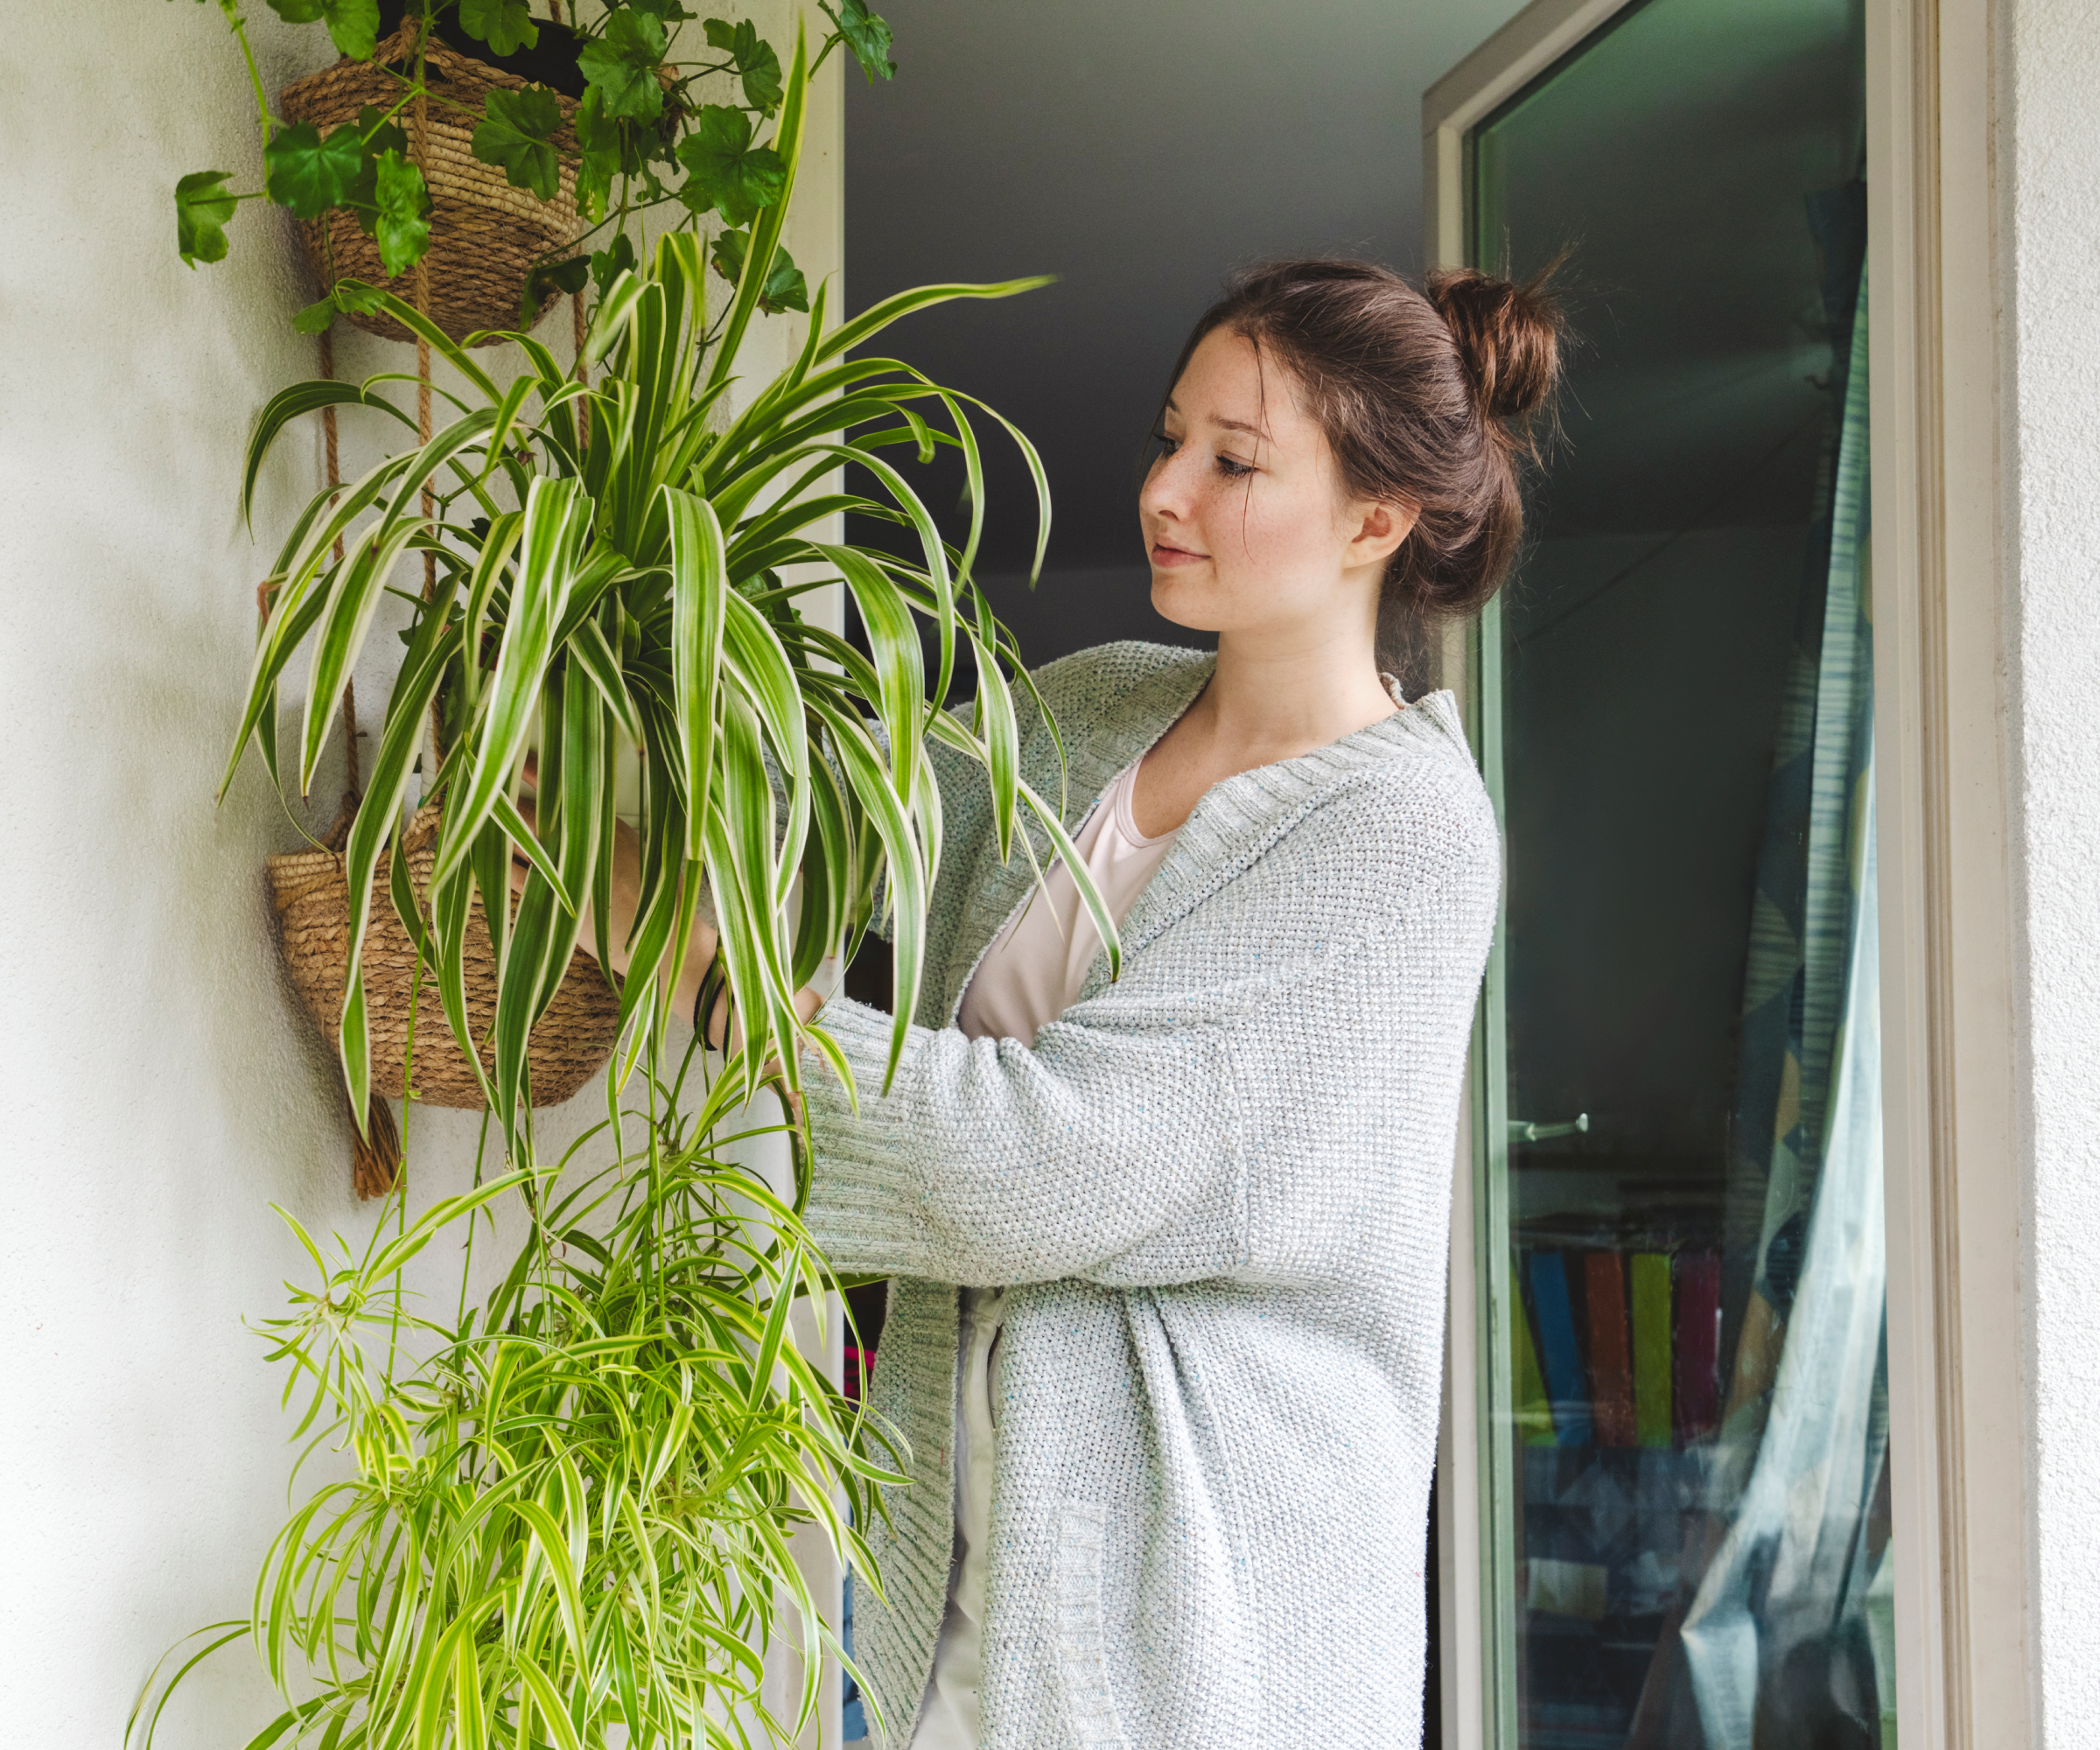
Hanging plants are the fastest, cheapest way to add that high-end layered look to a room, and most people skip them entirely because drilling into a ceiling feels like a commitment.
A single hanging Pothos from a ceiling hook costs less than $10 in plant and hardware combined, and it fills the vertical space that no shelf arrangement can ever reach.
That trailing green coming down from above is what makes a room feel like a living environment rather than a collection of plants.
If you’re in a rental and drilling isn’t an option, a tall macrame floor hanger, a ladder shelf with a trailing plant on the top rung, or a tension rod in a window alcove all achieve the same ceiling-level presence without touching a single wall.
12. Mix Real and Faux at the Ground Layer (And Never Admit It)
Here’s a genuinely controversial opinion that I stand behind completely:
Strategically placed high-quality fake plants at the ground level, where nobody gets close enough to inspect them, are a completely legitimate design tool you can take advantage of.
The ground layer of your plant arrangement, anything below 60cm, is where plants are hardest to keep alive as they have to deal with cold drafts, low humidity and foot traffic.
A quality faux plant in a beautiful pot at floor level, surrounded by real plants at mid and upper levels, is visually indistinguishable and cuts your maintenance work significantly.
I use two Ikea FEJKA faux plants in my ground layer.
I have never once been caught.
The trick is putting them in the same style of pot as your real plants and positioning a real plant immediately adjacent so the living one provides visual credibility to the whole group.
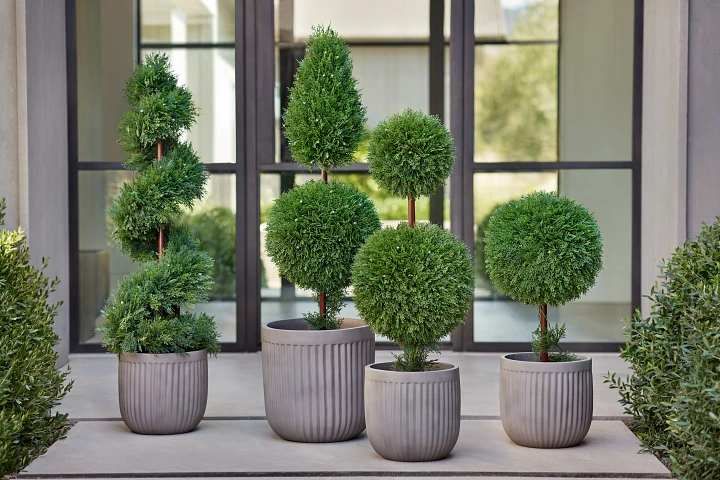
13. Match Your Pot to Your Plant’s Architecture
This is a mismatch I see constantly and it always bothers me more than it probably should.
A beautiful sculptural pot with a spindly, unstructured plant inside it.
Designer pots, the ones with strong geometric shapes, interesting textures, or sculptural forms, need architecturally strong plants to match their energy.
Think snake plants with their rigid vertical lines, ZZ plants with their bold upright stems, Alocasias with their dramatic leaf shapes.
These plants and these pots are having the same visual conversation.
A trailing Pothos, lovely as it is, gets visually swallowed by a high-design pot.
Save it for a more casual vessel and let the trailing vines be the star.
Put your statement plants in your statement pots. The pairing makes both look better.
14. Stop Overwatering Your Plants
:max_bytes(150000):strip_icc():format(webp)/signs-of-over-watering-plants-14df7081bbf04b479c8da6c301b27897.jpg)
Overwatering kills more houseplants than anything else, and the frustrating part is that an overwatered plant looks completely fine for weeks before it suddenly collapses.
The easiest diagnostic tool requires no equipment at all.
After watering, pick up the pot and notice how heavy it is.
Then pick it up again 10 days later.
If it still feels heavy, your drainage is inadequate, your pot is too large for the root system, or you’re watering too frequently.
Any of these creates the soggy anaerobic conditions where root rot develops invisibly.
A healthy pot should feel noticeably lighter after 7 to 10 days in a normally heated room.
If it doesn’t, water less and check that there are drainage holes actually doing their job.
15. Repot in Late February or March, Not Whenever You Feel Like It
:max_bytes(150000):strip_icc():format(webp)/SPR-how-to-repot-a-plant-8629819-hero-80bbacf16f1449a8bbbabf5ddbd87e10.jpg)
Most people repot a plant the moment they decide it looks rootbound, which is often October or November because that’s when they finally notice.
Then they wonder why the plant looks terrible for the next four months.
Plants in the northern hemisphere have a repotting window that runs from late February through to mid-April.
The increasing daylight during this period triggers active root regeneration, which means the plant recovers from transplant stress rapidly, sometimes within two to three weeks.
Repot outside this window, especially in fall or early winter, and recovery is sluggish.
The plant sits in its new pot looking dull and stressed until the light levels increase again in spring.
If you can wait until February, wait.
16. Consider The Three-Distance Rule for Groupings
When you place plants in a group, the spacing between them is communicating something whether you intend it to or not.
Pots that are too close together, within 15cm of each other, read as a colony.
They feel lush and intentional, like the plants belong together. This is the look for shelf vignettes and clustered floor arrangements.
Pots spaced 30 to 60cm apart read as individual plants sharing a space.
This works well when you want each plant to have its own visual identity, like flanking either side of a fireplace.
Pots more than 90cm apart stop reading as a group entirely.
They become separate objects.
This isn’t wrong, but if you’re going for the impression of curated abundance, you need at least some plants within that intimate 15cm zone of each other.
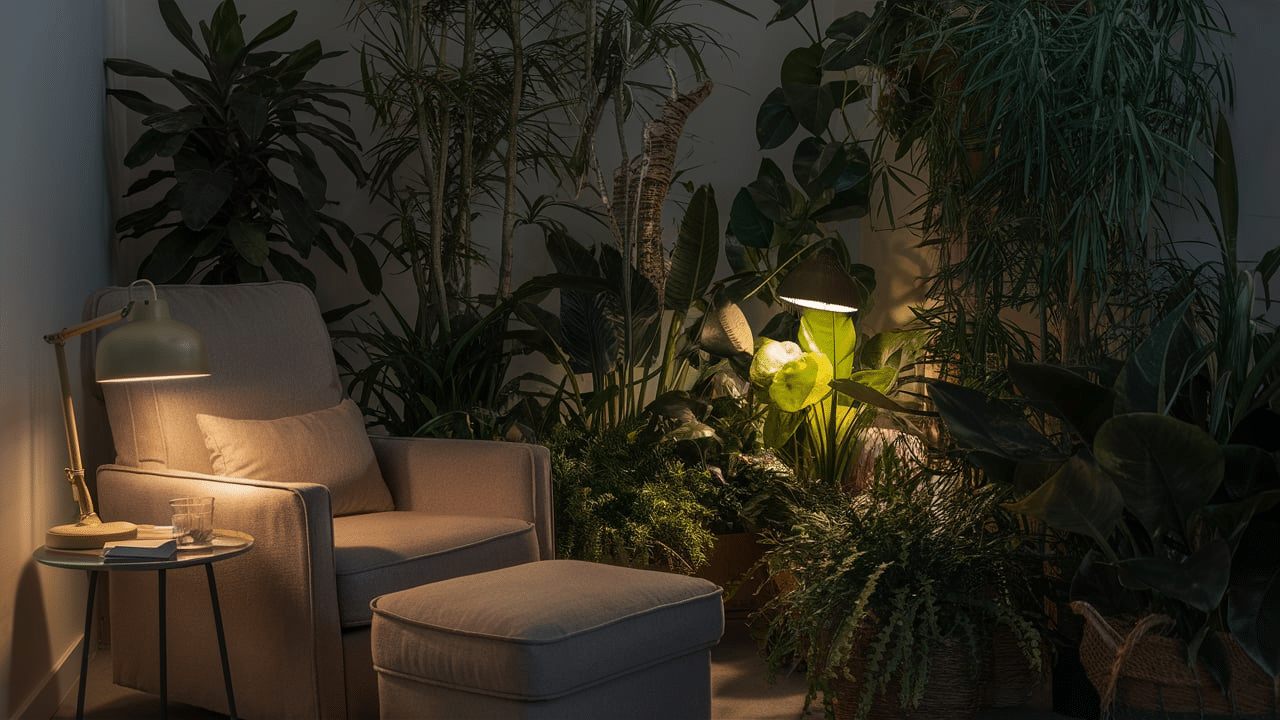
17. Have Grow Lights at a 45-Degree Angle, Not Directly Overhead

If you’re using grow lights, which honestly more people should be, the placement angle matters for aesthetics just as much as for the plant’s health.
Positioning a grow light directly overhead is horticulturally efficient but visually flat.
The light saturates the canopy but doesn’t create any shadow play on the wall or the floor, which is where the visual drama lives.
Position your grow light at roughly a 45-degree angle, 45 to 60cm above the top of the plant and slightly to one side.
The light still reaches the plant properly, but it casts beautiful leaf shadow patterns onto the adjacent wall.
In the evening with ambient room lighting turned down, this looks like something from an interior design magazine.
It costs nothing extra. It’s purely about the angle.
18. Watch Out For Humidity Stratification
Here’s a physics fact that genuinely changes where you put your most humidity-sensitive plants.
Humidity stratifies vertically in a room.
The air at floor level is typically 15 to 20% drier than the air at breathing height.
This means the absolute worst place for a humidity-loving fern or Calathea is on the floor in a terracotta pot.
You’ve combined the driest air in the room with the most moisture-wicking pot material. The plant never had a chance.
Put your humidity-sensitive plants at mid to upper shelf height, where the more humid air lives.
Reserve the floor level for drought-tolerant specimens that actively prefer the drier conditions.
This one adjustment will visibly improve the health of your sensitive plants within a few weeks.
19. Get Your Statement Plant Out Of The Dark Corner
This is the mistake I see most often from people who have just discovered that plants can be a design element.
They spend $80 on a beautiful specimen, bring it home, put it in the darkest corner because that’s where the space is, and are genuinely confused when it declines.
Before you buy any large or expensive plant, stand in the spot where you want to put it and hold your hand out flat.
Can you see a shadow on your hand?
That’s your minimum light threshold for most tropical plants.
No shadow means no viable home for a fiddle-leaf fig, regardless of how perfect the corner looks.
If a statement plant drops more than three leaves in its first two weeks with you, move it immediately toward the nearest bright window.
It isn’t adjusting.
It’s in stress and the situation is getting worse daily while you wait to see if things improve.
20. Get a Plant Stand

Not a rare plant. Not an expensive pot. A plant stand.
A $15 to $25 rattan or wooden plant stand does three things simultaneously.
It lifts a plant into the mid-air viewing zone where it gets more attention.
It creates height variation in a flat arrangement.
And it adds a different material and texture to the visual composition.
A $5 Pothos on a $20 plant stand looks more considered and expensive than a $50 plant sitting directly on the floor in a $30 pot.
Elevation is a signal of intentionality.
It says someone thought about this, rather than just put a plant down somewhere.
21. Name Your Framework, Own Your Space
This last one is less about plants and more about the mindset shift that changes everything.
Once I started thinking of my home’s plant arrangement as a three-layer system (ground, mid-air, ceiling) rather than a collection of individual plants, every decision became clearer.
Do I have ground coverage? Is my mid-air layer interesting? Is there anything in the ceiling plane?
When the answer to any of those is no, I know exactly what the room is missing and roughly what it needs.
I don’t wander around garden centers hoping inspiration strikes. I know what layer I’m shopping for.
Call it the Canopy Horizon Protocol if you want to sound like you know what you’re doing at dinner parties.
Or just think of it as filling three zones instead of one.
Either way, it’s the framework that separates an expensive-looking plant space from a random collection of greenery, regardless of how much you spent on any individual plant.
The Bottom Line
A luxury plant aesthetic is not about buying expensive plants.
It’s about glossy leaves that catch the light, varied heights that fill vertical space, pots that match their plant’s personality, and at least one thing hanging from above.
The people who get this right are not spending more. They’re thinking in layers, matching mass instead of counting stems, and swapping one bulb to 3500K.
Start there. The rest follows naturally.
Got a plant that’s refusing to cooperate? The answer is almost always light. Check that first.
Related Posts: