How to Mow a Lawn With a Riding Mower: A Complete Step-by-Step Guide
Last Updated on April 29, 2026 by Duncan
A riding mower is one of the most satisfying tools in lawn care — once you understand how to use it properly. It’s not just a question of sitting down and driving in straight lines.
The technique you use, the settings you choose, the time of day you mow, and the way you handle slopes and edges all determine whether you end up with a clean, healthy lawn or a patchy, stressed one.
I’ve been maintaining my own garden for over 17 years. I made the switch to a riding mower when my property expanded, and the learning curve taught me that a riding mower rewards preparation and technique far more than a push mower does. A push mower forgives sloppy habits. A riding mower amplifies them.
This guide covers everything from machine preparation and cutting height settings to mowing patterns, safety on slopes, and timing — with specific, actionable guidance at every step.
Is a Riding Mower Right for Your Lawn?
Riding mowers are most practical for lawns larger than half an acre (approximately 2,000 m²). Below that size, the maneuverability advantages of a push mower — particularly around garden beds, trees, and tight corners — usually outweigh the speed of a riding mower.
If your lawn has significant slopes, check the manufacturer’s maximum safe slope rating before purchasing. Most standard residential riding mowers are rated for slopes up to 15 degrees.
Beyond that, the risk of tipping — particularly on side-to-side traversal — is significant. For steeper terrain, look for zero-turn mowers with a lower center of gravity or consult a specialist guide on riding mowers for hills.
Step 1: Prepare the Machine Before Every Session
Skipping the pre-mow check on a riding mower is a more consequential mistake than on a push mower — a riding mower covers more ground faster, meaning any mechanical issue or setup error affects a larger area before you catch it.
Pre-mow checklist:
- Fuel: Top up the tank before you start. Refuelling a hot engine after a partial run is a fire risk — petrol vapour near a hot exhaust or engine block can ignite. Always refuel cold.
- Oil: Check the dipstick. The oil level should sit between MIN and MAX. Running a riding mower with low oil causes rapid engine wear and, eventually, seizure.
- Blade condition: Briefly engage the blades (with the deck in a safe position) and listen for unusual vibration or noise that might indicate a loose or damaged blade. Visually inspect the underside if you have any concern.
- Tyre pressure: Uneven tyre pressure on a riding mower causes uneven deck height and an inconsistent cut. Most residential riding mowers specify 8–14 PSI in the rear tyres — check your manual for the exact figure and use a gauge.
- Deck engagement lever and height adjustment: Confirm the deck is disengaged before starting and that the height is set to the correct position for today’s mow.
- Lubrication: If the mower has chain sets, spindle grease fittings, or other lubrication points specified in the manual, service them at the intervals the manufacturer recommends. A well-lubricated mower runs quieter, cuts cleaner, and lasts longer.
My habit: I do a quick walk around the mower and a 30-second under-deck check before every session. It takes less than two minutes and has caught issues — a loose blade bolt, a clogged discharge chute, a nearly flat tyre — before they became problems mid-mow.
Step 2: Inspect and Clear the Lawn
Before starting the engine, walk the entire area you plan to mow and remove anything that could be struck by the blades or cause the mower to tip.
Remove: rocks, sticks, garden stakes, hose fittings, pet toys, children’s toys, sewer grate covers that sit proud of the lawn, and any other hard or solid object.
Note the location of: tree roots that rise above the soil surface, buried irrigation heads, soft or waterlogged patches where the mower might sink, and ground-nesting animal burrows.
A riding mower blade spinning at 3,000 RPM can eject a stone at speeds exceeding 100 mph. Objects thrown by a mower blade have caused serious injuries and property damage.
This inspection step is not optional — it is the most important safety action you take before mowing.
Step 3: Set the Correct Cutting Height
Cutting height is the most consequential setting on a riding mower, and it’s the one most homeowners get wrong by cutting too low.
The one-third rule: Never remove more than one-third of the grass blade in a single mowing session. This is the most consistently supported guideline in turf management. Cutting more than one-third at once causes several simultaneous problems:
- It exposes the crown of the grass plant (the growing point at the base of each blade). Damage to the crown stunts regrowth and depletes nutrient reserves.
- It stresses the grass and increases vulnerability to pests and disease, because a weakened plant can’t mount effective defenses.
- Short grass provides less shading of the soil surface, allowing weed seeds to receive the light they need to germinate.
- It reduces the grass’s ability to photosynthesize efficiently, slowing recovery between mowing sessions.
Recommended cutting heights by grass type:
| Grass Type | Recommended Height | Minimum Safe Height |
|---|---|---|
| Bermuda grass | 2.5–3.8 cm (1–1.5 in) | 1.9 cm (0.75 in) |
| Zoysia grass | 2.5–5 cm (1–2 in) | 1.9 cm (0.75 in) |
| Buffalo / St. Augustine | 5–7.6 cm (2–3 in) | 3.8 cm (1.5 in) |
| Tall fescue | 6.4–8.9 cm (2.5–3.5 in) | 5 cm (2 in) |
| Kentucky bluegrass | 5–6.4 cm (2–2.5 in) | 3.8 cm (1.5 in) |
| Kikuyu | 3.8–5 cm (1.5–2 in) | 2.5 cm (1 in) |
If the grass is significantly overgrown: Don’t attempt to cut it to the target height in one pass. Set the deck high, mow once, then wait 3–5 days and lower the deck to mow again.
Repeat until you reach the target height. Rushing this process by cutting deeply in one pass causes more stress than it saves time.
Step 4: Mow in the Right Pattern
Mowing pattern affects three things: the evenness of the cut, the visual appearance of the lawn, and soil compaction over time.
The core rule: vary your pattern each time you mow. Running the mower in the same direction every session compacts the soil in consistent tracks, creating ruts, tramlines, and areas of compressed root systems that resist healthy growth.
Simply alternating between horizontal, vertical, and diagonal passes across the season prevents this.
Common Mowing Patterns
Parallel stripes (most common): Mow in straight rows from one end of the lawn to the other, turning at each end. Efficient and clean-looking. On a large rectangular lawn, start from one edge and work your way across.
Perimeter-first: Mow one or two passes around the outer perimeter of the lawn first. This gives you a turning lane at the edges for your row passes, so you’re never making tight turns in uncut grass. It also creates a clean border.
Diagonal: Mow at a 45-degree angle to the lawn’s long axis. Alternating between diagonal directions each session gives the lawn a checkerboard appearance while varying soil pressure points.
For the striped, golf-course look: Stripes are created by bending grass blades in alternating directions — blades bent toward you appear darker, blades bent away appear lighter.
On a riding mower, you can achieve this by attaching a lawn roller to the rear of the mower. The roller follows each pass, pressing the grass in the direction of travel. Rollers are widely available at hardware stores and garden centres.
Without a roller, stripes are less pronounced but still visible on mowers with a rear discharge chute or striping kit.
The Overlap Rule
Each pass should overlap the previous pass by 5–10 cm (2–4 inches). This ensures no strip of grass is missed between runs and prevents a jagged, uneven edge at the transition between passes.
On a riding mower with a wide deck (typically 90–120 cm / 36–48 inches), maintaining a consistent 5–10 cm overlap requires attention — a reliable method is to use a fixed visual reference point on the mower (the edge of the deck or a wheel) aligned with the previous cut line.
If your mower has four wheels, deliberately varying which wheel tracks you use each session also prevents repeated ground compression in the same spots.
Step 5: Handle Slopes Safely
Slopes are where riding mower safety becomes critical. A riding mower has a higher center of gravity than it appears — the weight of the engine, deck, and operator combined can cause rapid tipping on steeper ground.
The 15-degree rule: Do not operate a standard residential riding mower on slopes exceeding 15 degrees (approximately a 27% gradient). At greater angles, the tipping risk — especially during turning — becomes significant regardless of operator experience.
On slopes within the safe range:
- Always mow up and down the slope, never side to side. Traversing a slope horizontally (across the face) places the mower’s weight on one side of the wheels, dramatically increasing the risk of lateral tip. Going straight up and down keeps the weight distributed evenly across all four wheels.
- Slow down on slopes. Speed amplifies instability. Descend under engine braking rather than coasting.
- Never make sharp turns on a slope. Plan your pattern so that turns happen on flat ground — the top and bottom of the slope — rather than partway up.
- Avoid engaging or disengaging the deck on steep sections. Do this on flat ground before approaching the slope.
For slopes steeper than 15 degrees, a walk-behind mower used in the side-to-side pattern (not up-and-down, which creates a runaway risk if you fall) is the safer option.
Alternatively, a professional mowing service with appropriate equipment is worth considering for steep sections.
Protect the blades on slopes: Avoid mowing across embedded rocks or exposed root systems that commonly appear on sloped ground. Striking these at speed can bend or chip the blade and, in severe cases, damage the blade spindle.
Step 6: Mow at the Right Time
Timing affects both the health of the grass and the quality of the cut.
Avoid midday heat. Mowing during the hottest part of the day — typically between 11 AM and 3 PM — stresses grass that is already under heat and moisture pressure.
Fresh-cut grass loses moisture rapidly from the cut surface; in peak heat, this accelerates wilting and browning of the tips.
Morning vs. evening:
- Mid-morning (8–10 AM) is the preferred mowing window for most lawns. The dew has had time to dry off the grass (reducing clumping and disease spread), the temperature is moderate, and the grass has enough daylight after mowing to begin recovering before nightfall.
- Late afternoon / early evening is a good second option. The reduced heat is beneficial, and — as the original article notes — the grass then has up to 12 hours of darkness to begin recovery before the next day’s sun hits the cut tips. The risk in the evening is mowing while residual moisture is building, which can cause clumping. Finish at least an hour before dusk.
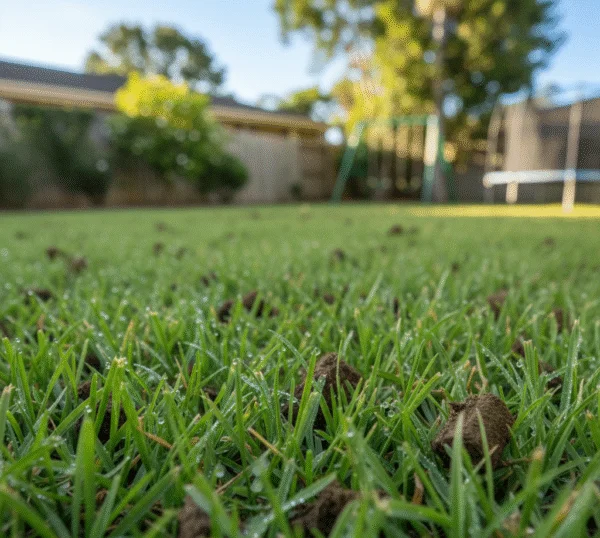
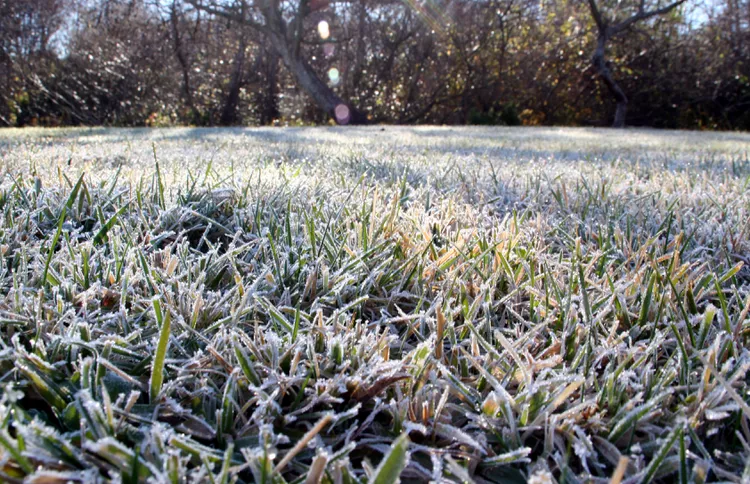
- Avoid mowing in the morning if the grass is still wet from dew. Wet grass clumps under the deck, clogs the discharge chute, and produces an uneven cut. It also increases the risk of spreading fungal disease across the lawn. For more on this, see our guide on mowing wet grass and whether it causes damage.
Step 7: Protect and Maintain the Blades
Blade condition has a direct, immediate impact on cut quality. A sharp blade slices grass cleanly. A dull blade tears it, leaving frayed brown tips within 24–48 hours of mowing.
Sharpen riding mower blades every 20–25 hours of mowing — roughly once per season for the average homeowner, more often for frequent or large-area mowing.
Full instructions on the correct sharpening process are available at WikiHow’s blade sharpening guide. For information on choosing the right blade type for your conditions, see our guide on lawn mower blades.
Blade protection during mowing:
- Avoid mowing around stones — even a single stone strike can chip or bend a blade, which then creates vibration, an uneven cut, and potential spindle damage.
- Avoid sharp turns on the lawn. Tight zero-radius turns (or near-zero turns on a standard riding mower) can cause the inner wheel to pivot in place, tearing grass and concentrating soil stress. When you need to turn, ideally do so on the driveway or a hard surface, then drive back onto the lawn in the new direction. At minimum, use wide, gradual turns.
- Check the blade for damage after any impact. If you suspect you’ve struck something solid, shut off the mower, wait for the blade to stop completely, and inspect from a safe angle before continuing.
Step 8: Wear the Right Protective Gear
A riding mower is heavy equipment that generates significant noise and propels debris at speed. Appropriate personal protective equipment (PPE) is not optional.
Hearing protection: Riding mowers typically operate at 95–106 dB — considerably above the 85 dB threshold at which the CDC identifies sustained exposure as harmful.
At 95 dB, safe unprotected exposure is limited to approximately one hour. Wear earmuffs with an NRR of 25 dB or higher for every mowing session. See our guide to best hearing protection for lawn mowing for reviewed options.
Eye protection: Safety glasses or goggles protect against debris ejected from the discharge chute or from under the deck. Standard prescription glasses are not safety-rated and do not provide adequate protection.
Footwear: Wear closed-toe shoes with a firm sole. Never mow in sandals or bare feet. If you need to dismount to clear debris, shut the engine off and wait for the blades to stop completely before approaching the deck.
Clothing: Avoid loose clothing that could catch on the mower’s controls. Long trousers provide better protection against ejected debris than shorts.
Quick-Reference: Riding Mower Best Practices
| Practice | Specification |
|---|---|
| Maximum cutting per session | One-third of total blade length |
| Slope limit (standard riding mower) | 15 degrees / 27% gradient |
| Slope direction | Up and down only — never side to side |
| Pass overlap | 5–10 cm (2–4 inches) |
| Best mowing time | Mid-morning (8–10 AM) or late afternoon |
| Blade sharpening interval | Every 20–25 hours of use |
| Tyre pressure (typical) | 8–14 PSI rear — check manual |
| Hearing protection NRR | 25 dB minimum for riding mower use |
| Mowing pattern rotation | Change direction every session |
Final Thoughts
A riding mower is a significant investment — most quality residential models cost $1,500–$4,000 — and using it correctly protects both the machine and the lawn.
The technique decisions covered in this guide (cutting height, mowing pattern, slope handling, timing, and blade maintenance) compound over a full season.
A lawn mowed correctly every two weeks looks noticeably healthier by the end of summer than one mowed carelessly at the same frequency.
For related reading, see our full guides on understanding lawn mowing and tips for a greener, thicker lawn, as well as our detailed breakdown of lawn mower blade types and care.
Related Posts: