Can You Burn A Tree Stump?
Last Updated on May 10, 2026 by Duncan
Yes — you can absolutely burn a tree stump to remove it. It’s one of the oldest stump removal methods around, and when done correctly, it’s surprisingly effective.
But there’s a big difference between doing it correctly and just lighting a fire and hoping for the best.
I learned that the hard way. The first time I tried burning a stump — a thick old pine at the edge of my yard — I poured some fuel on it, lit it up, and watched it smolder for a few hours before dying out completely. Nothing but a scorched, wet mess.
The second time, I followed the proper preparation steps, and that same stump was ash and loose char within two days.
The preparation is everything. Skip it, and you’ll waste a weekend. Do it right, and burning is a cheap, low-effort stump removal method that anyone can manage safely.
Here’s exactly how to do it — step by step — along with the safety rules you absolutely cannot ignore.
Is Burning the Right Method for Your Stump?
Before you get started, it’s worth taking a moment to assess whether burning is actually the best approach for your situation.
Burning works best when:
- The stump is relatively dry (recently cut green stumps resist burning and need longer soaking)
- The stump is well away from structures, fences, overhanging branches, and your home
- You have several days available to monitor the process — stumps don’t burn out in an afternoon
- Open burning is permitted in your area (more on this below)
If budget isn’t a constraint, hiring a professional to grind the stump is faster, cleaner, and leaves no fire risk. But if you’re looking for a low-cost DIY removal method and your situation fits the criteria above, burning is a legitimate and time-tested option.
Before You Begin: Check Local Fire Regulations
This step comes before everything else — including buying fuel. Open burning rules vary enormously depending on your city, county, and state. Some areas prohibit it entirely. Others require a permit. Many have seasonal burn bans during dry months when fire risk is highest.
Call your local fire department or check your municipality’s website before you do anything else. Getting this wrong isn’t just a fine — an uncontrolled stump fire can spread to a neighbor’s property fast, and no one wants that conversation.
Also check the weather forecast before you start. You want at least three to four consecutive dry days ahead of you. Rain will extinguish the fire mid-process, and restarting a partially burned, waterlogged stump is a frustrating exercise.
What You’ll Need
- Chainsaw
- Drill with a long 12mm (½-inch) bit
- Shovel
- Rake
- Kerosene or diesel fuel (NOT gasoline — see warning below)
- Scrap wood or charcoal
- Matches or a long-handled lighter
- Fire extinguisher or garden hose kept nearby at all times
- Heat-resistant gloves
- Eye protection
Step 1: Prepare the Stump and the Area Around It
Good preparation is what separates a successful stump burn from an afternoon of frustration — or a dangerous situation. Don’t rush through this phase.
Clear the Surrounding Area
Start by removing anything flammable within a wide radius of the stump. This means wooden structures, garden furniture, dry mulch, and decorative elements.
Using a rake, thoroughly clear the ground around the stump of dry leaves, small sticks, and debris — all of these can carry a spark further than you’d expect.
Check above the stump too. Low-hanging branches overhead are a serious hazard. If any are within a few meters of where the fire will be, trim them back before you start.
Expose and Reduce the Stump
Use a shovel or another suitable gardening tool to dig around the stump and expose as much of the base as possible. The more surface area you expose, the more fuel can penetrate and the more completely the stump will burn.
Next, use a chainsaw to cut the stump down as close to ground level as you can manage. A lower stump is safer — it keeps the fire lower to the ground and more controllable. It also means less wood to burn through, which speeds up the overall process.
Drill the Holes
This is the most important part of the preparation, and it’s what I skipped the first time. Without it, the fuel sits on the surface and burns off quickly without penetrating the core of the stump — which is why that first attempt failed so completely.
Using a drill fitted with a long 12mm bit, drill holes all over the top of the stump, around the base, and angling down into the roots.
Push the drill as deep as it will go — you want the holes to be 20–30cm (8–12 inches) deep if possible. Space the holes several inches apart across the entire top surface.
Then drill angled holes into the sides of the stump at about 45 degrees, trying to connect them with the vertical holes.
This cross-ventilation dramatically increases airflow inside the stump, which keeps the fire burning hotter and longer from the inside out.
Soak With Kerosene — and Be Patient
Pour kerosene or diesel into every hole you’ve drilled. Fill them to the top, let them absorb, and top them up again.
Then do it again the next day. For best results, repeat this process for at least two full days before lighting the fire.
This extended soaking period is what allows the fuel to travel deep into the wood grain and root system.
The deeper the saturation, the more completely the stump will burn — including underground sections that are otherwise very hard to reach.
Critical warning: Do not use gasoline. Gasoline is far too volatile for this application. It ignites explosively, burns at an uncontrollably high temperature, and the vapors alone are a serious hazard before you’ve even struck a match.
Kerosene or diesel burn slower, more predictably, and far more safely. There is no situation where gasoline is the better choice here.
Step 2: Ignite the Stump and Keep the Fire Going
With the stump thoroughly soaked, you’re ready to light it. There are two reliable methods — use whichever works best for your setup:
The Teepee Method
Stack scrap wood over and around the stump in a teepee shape, with the wood leaning in toward the center. Place kindling and fire starters at the base, then use a long match or lighter to ignite the kindling from the bottom.
The teepee shape funnels heat down onto the stump and keeps the fire feeding itself as the wood burns.
As the fire burns down, keep adding more scrap wood to maintain consistent heat. A fire that’s allowed to die down too far will be much harder to re-establish.
The Charcoal Method
Place charcoal around and on top of the stump, packing it into the drilled holes and around the base where it can get underneath the stump.
Then stack firewood on top. Charcoal’s small, dense particles are particularly good at reaching down into the root zone and sustaining combustion in areas that regular logs can’t access.
This method tends to produce a slower, steadier burn — which is actually preferable for a large stump since the goal is sustained heat over many hours, not a fast blaze.
Monitoring the Burn
Once the fire is going, don’t walk away. Stump fires require ongoing attention.
The fire will smolder and shift over hours and potentially days, and conditions can change — wind picks up, a spark travels, or the fire threatens to spread along a root that runs under the lawn.
Keep a charged garden hose uncoiled and within reach at all times. If you see fire spreading beyond the stump or losing control in any direction, douse it with water immediately and let it cool completely before reassessing.
Depending on the size and species of the stump, full combustion can take anywhere from several hours to two or three days of sustained burning.
Hardwood stumps take considerably longer than softwoods. Plan your schedule accordingly, and don’t start the burn the night before you need to leave town.
Step 3: Remove What’s Left
Once the stump has burned down completely and the fire has fully extinguished and cooled — and this means cooled completely, not just stopped smoking — you can begin the cleanup.
Use a shovel to break up any large chunks of charred root or stump material remaining in and around the hole. For thick roots that won’t break up easily, use an axe to chop through them. Work methodically from the outside in.
As you remove the debris, place it directly into a metal bucket or fire-safe container.
This is not the step to get complacent — charred wood and ash can retain heat and smoldering embers for far longer than they look like they should. Never pile the removed pieces onto your lawn or near any flammable surface.
Wear heat-resistant gloves throughout the cleanup and consider eye protection against ash and dust.
Once all debris is removed and the hole is clear, fill it with fresh topsoil, tamping it down in layers to prevent sinking.
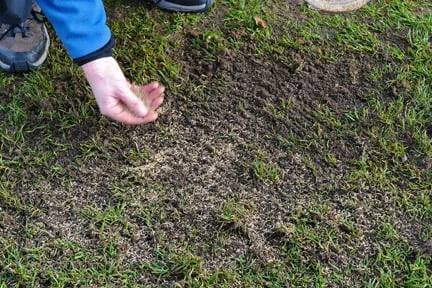
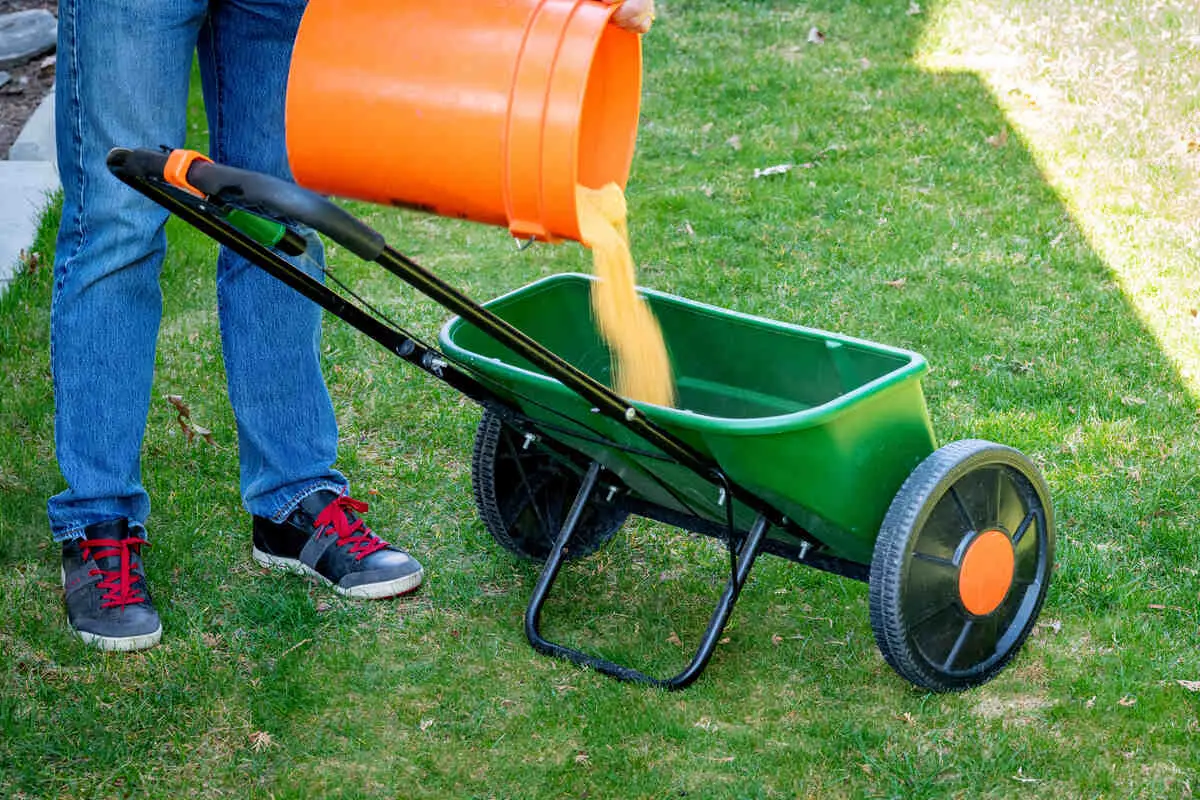
Finish by sowing turf seed over the exposed soil patch so the grass can fill in and restore the area to its original appearance. Keep the seeded area watered regularly for the first few weeks.
Safety Rules: Non-Negotiable
Burning a stump is manageable and safe when done properly — but the margin for error shrinks fast when safety steps are skipped. Keep these rules front of mind throughout the entire process:
- Never leave the fire unattended for any meaningful length of time. Not for dinner. Not to take a call. Have someone else present if you need to step away briefly.
- Keep a fire extinguisher on site, not just a hose. Extinguishers work faster and more reliably in a sudden flare-up.
- Never burn on a windy day. Wind changes direction unpredictably and can carry sparks 10–15 meters in seconds.
- Never use gasoline, lighter fluid, or accelerants beyond the initial kerosene soaking. Adding accelerants to an already-burning fire is dangerous regardless of what you’re burning.
- Keep children and pets well away from the area while the fire is burning and during cleanup.
- Confirm complete extinguishment before leaving the area for the night. A fire you think has gone out can reignite from buried embers hours later.
Final Thoughts
Burning a tree stump is one of the most cost-effective DIY removal methods available — no heavy machinery, no professional fees, and it works on stumps of almost any size given enough time. But it rewards preparation and patience, and it punishes shortcuts.
Drill deep, soak for two full days, keep the fire fed, and never walk away.
Do those four things consistently and you’ll have a clean, filled hole where the stump used to be — and a lot of satisfaction from having handled it yourself.
If you’re not sure burning is the right approach, or you’ve got a stump you’d rather repurpose than remove, take a look at our guide on what to do with a tree stump in your front yard for 11 creative alternatives.
And if you want to keep a stump rather than get rid of it, our guide on how to preserve a tree stump walks you through the full process.
Related Posts: